Many keen gardeners know the problem: terracotta pots left outside go green, develop white edges, and lose their rich colour, looking dull and patchy instead. Rather than throwing them away or buying expensive new cachepots, you can completely transform the material with a handful of simple steps - for less than £10 per pot, and with a finish that looks far more like designer ceramics than bargain-bucket gardenware.
Why outdoor terracotta pots look unattractive so quickly
Terracotta is a natural, porous material. That porosity is part of why gardeners like it, but in the open air it also creates classic problems. Water soaks into the pot wall, evaporates back out again, and carries salts, fertiliser residue and lime to the surface as it goes. Over time, this leads to:
- green growth from algae and moss
- white crusting from lime and salt deposits
- cracks in the surface caused by frost and damp
- flaking paint, if the pot has already been decorated once before
Simply painting over the top rarely solves the issue. Moisture keeps moving through the pot, the paint starts to peel or bubble, and within a few weeks the container can look worse than it did before.
The secret to long-lasting, beautifully finished pots is not applying the thickest possible coat of paint, but controlling the moisture inside the pot.
Step 1: deep-clean the pot instead of painting over dirt
Before any brush touches the surface, the pot needs a proper clean. This is the only way to make sure every later layer adheres reliably.
How to get the pot genuinely clean
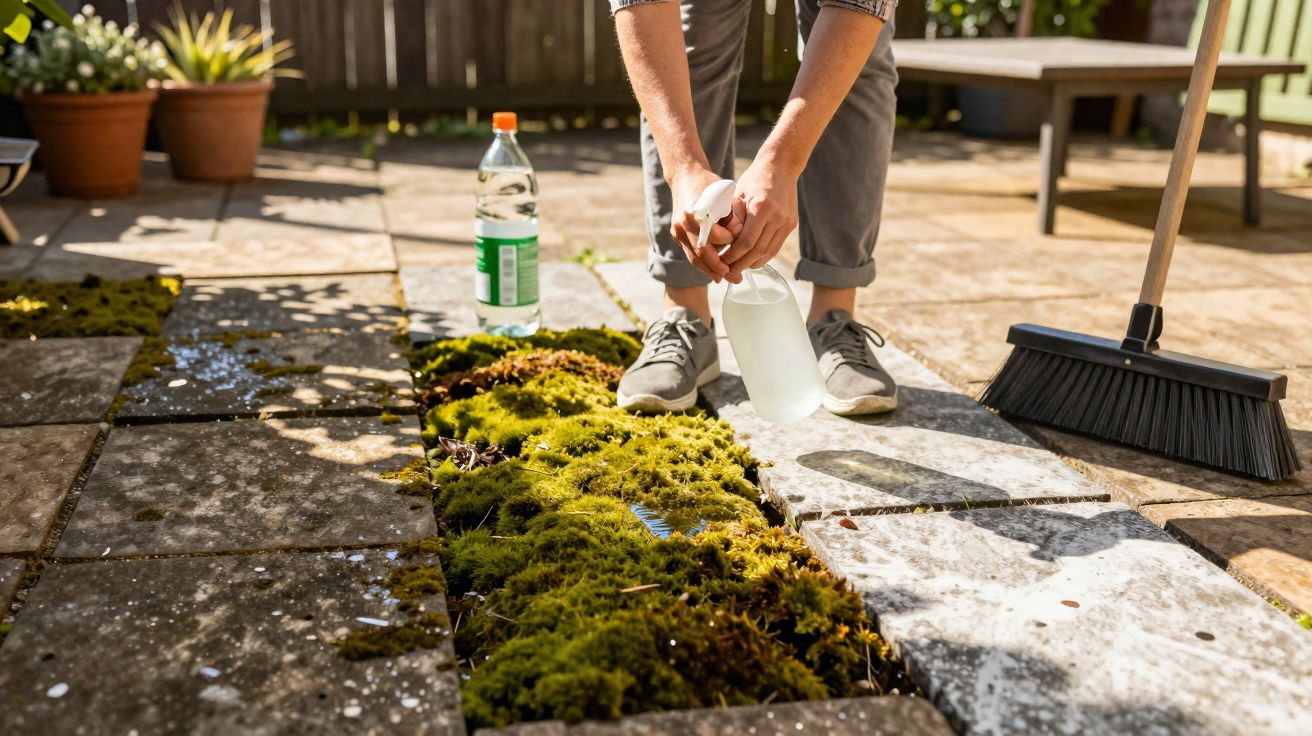
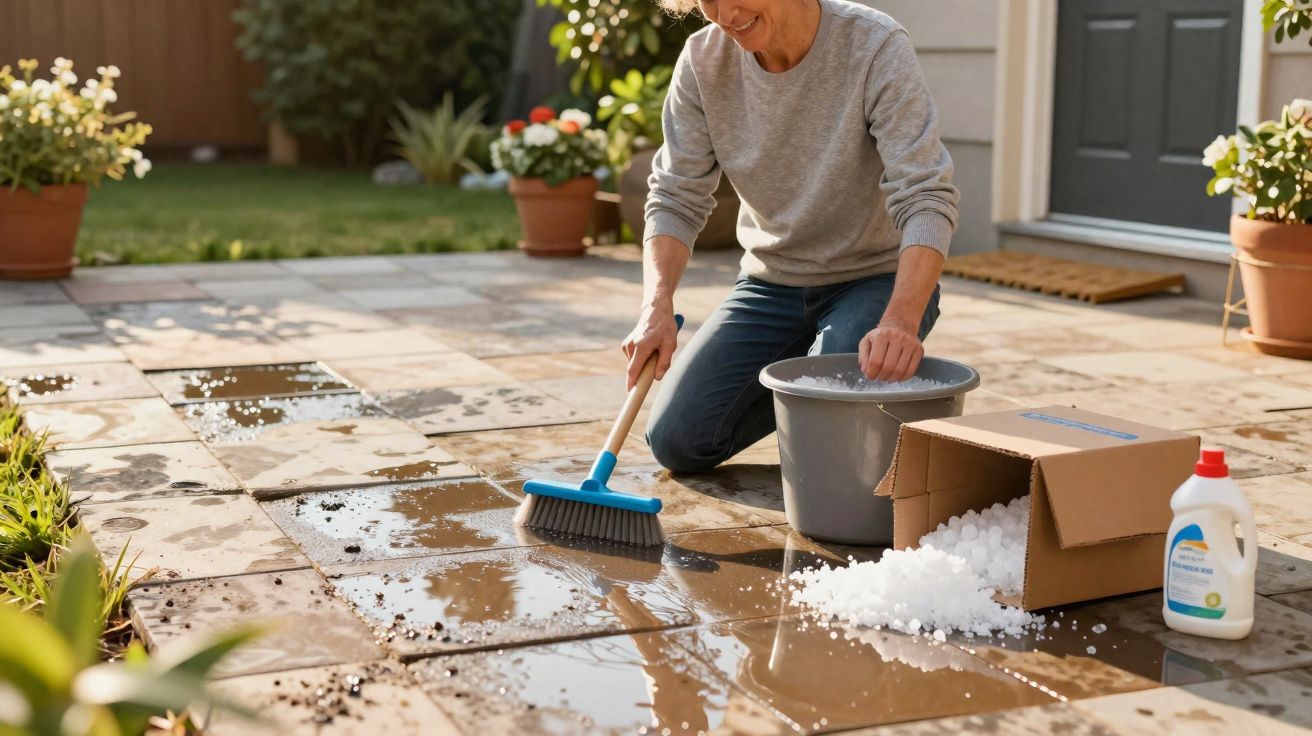
A stiff brush, lukewarm water and a splash of clear household vinegar will loosen moss, algae and mineral deposits very effectively. The vinegar breaks down lime, while the brush lifts dirt from the pores. After that, rinse the pot thoroughly with water and leave it to dry completely.
If the pot is heavily soiled or has sat in a bed for years, a soak can help. Leave it in a tub of water for 10 to 20 minutes, then brush it down and let it dry in a shady, airy place. Avoid direct sunshine, as rapid drying can cause stress cracks.
Finally, it is worth giving the surface a light sanding with fine-grit sandpaper. That removes tiny bumps and helps the primer grip better in the next stage.
Step 2: seal the inside so the finish stays put
Here is a professional trick many DIYers skip: the crucial work happens on the inside of the pot. If you only treat the exterior, you are dealing with the symptom rather than the cause.
Internal sealing against rising moisture
Coat the inner wall completely with a thin layer of a highly water-resistant product, such as:
- marine varnish
- a waterproofing product for basement walls or foundations
Two things matter here: the layer must not be too thick, and it has to reach every area, including curves and corners. One or two coats are enough, provided you follow the drying time stated by the manufacturer. This barrier stops watering from migrating back through the pot wall.
On the outside, apply an acrylic primer afterwards. It reduces how absorbent the terracotta is and helps the later paint blend look even. Spray primers are particularly useful here because they can be applied quickly and thinly.
Before you move on, make sure the pot is completely dry all the way through. If you start painting too soon, trapped damp can undo the work later on, especially after a spell of wet weather.
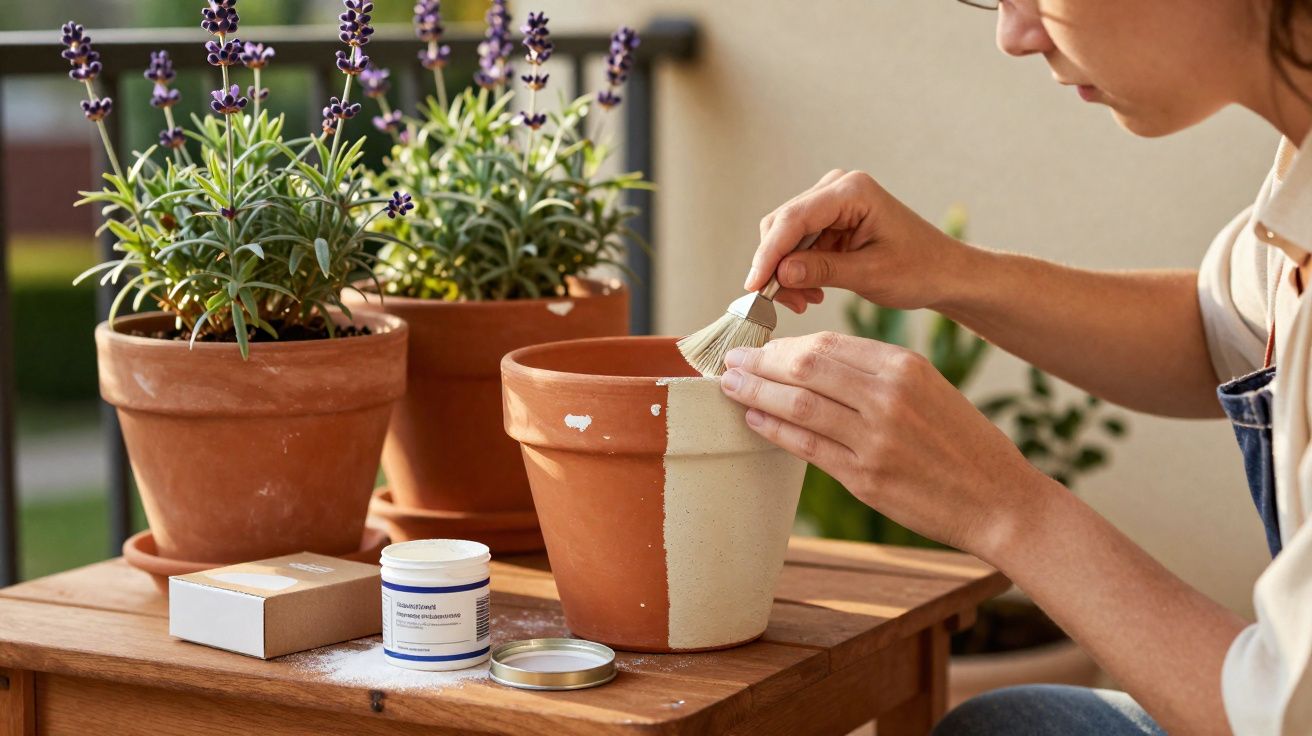
Step 3: the household ingredient that creates the ceramic effect
Now comes the trick that creates the surprisingly ceramic look: a blend of outdoor paint and bicarbonate of soda. The result is a matt, lightly textured surface that resembles handmade studio pottery.
How to make DIY ceramic paint
Use an acrylic or vinyl exterior paint that is suitable for mineral surfaces. Add ordinary bicarbonate of soda, also known as baking soda. A simple rule of thumb is:
For every 100 ml of paint, add one generously heaped tablespoon of bicarbonate of soda to the pot - then stir thoroughly until no lumps remain.
The mixture becomes noticeably thicker and can be brushed on like chalk paint. Small scratches, old salt marks and uneven areas disappear visually because the texture hides them.
Colours that work especially well
For this raw ceramic effect, soft and muted shades work best:
- gentle terracotta tones
- sage green
- ochre and sand shades
- beige and other nude tones
Very bright colours fit the textured finish less well and can make the pot look more like plastic. Earthy tones, by contrast, enhance the material feel.
If you are nervous about the effect, start with a single test pot. It is a practical way to judge how the colour dries in your garden light and whether you prefer a rougher or smoother finish before you commit to a whole set.
Step 4: paint properly - in two or three thin coats
Apply the mixture with a wide brush only to the outside of the pot. The interior should remain protected by the invisible sealant layer; otherwise the root zone may become too tightly sealed.
The first coat does not need to cover perfectly. It simply forms a base that evens out the terracotta colour. After about two hours of drying time, add the second coat. This is where the consistent ceramic look really appears. For very pale colours or badly marked containers, a third coat can improve the result even further; wait around six hours before applying it.
Once painted, leave the pot undisturbed for 24 to 48 hours before handling it further or planting it up again. During that period, it should stay dry and sheltered from wind.
Step 5: add a protective topcoat for garden, balcony and roof terrace
To stop rain and sunlight from attacking the new surface straight away, finish with a protective seal. A matt acrylic exterior varnish creates a thin, transparent layer over the paint mix.
One or two very thin coats are enough. The matt version preserves the handmade, ceramic-like impression, whereas glossy varnishes can make the surface look artificial. Just remember to varnish only the outside and keep the drainage hole clear.
Using a free-draining compost gives the pots extra protection too. Constant waterlogging is hard on both plants and containers.
A simple finishing touch can make the whole display look more considered: pairing the pots with plain saucers or a gravel top dressing helps prevent splash marks and gives the arrangement a calmer, more finished appearance. That little bit of consistency can make even old containers feel like part of a carefully planned collection.
What the whole project really costs
Many people put off this kind of job because they expect the materials to be expensive. In practice, the budget per pot stays very manageable. Most of the products go a long way because they are used in thin layers and only over a few coats.
| Material | Approximate cost | Enough for |
|---|---|---|
| Acrylic exterior paint | £8–£15 per tin | several large pots |
| Bicarbonate of soda | £1–£3 per packet | many mixes |
| Internal sealant | £10–£20 | around 5–10 pots, depending on size |
| Matt exterior varnish | £8–£15 | several containers |
If you divide the expense across individual pots, you will usually stay well below £10 per piece - especially if you already own basic tools such as brushes and sandpaper.
How long the effect lasts and what maintenance is needed
With proper preparation and sealing, the refurbished pots should last for several seasons. The matt finish can be cleaned with a soft cloth and lukewarm water. Harsh cleaning products are unnecessary and may damage the varnish layer.
Small chips caused by knocks can be touched in with a little of the original paint mix. Many people even like these slight signs of use, because they add to the handmade feel, much like pieces from a pottery workshop.
What bicarbonate of soda actually does in the paint
Bicarbonate of soda reacts slightly with the binders in acrylic paint and changes the consistency. The mixture becomes thicker and dries to a flat, almost powdery surface. At the same time, the tiny grains create a microscopic texture that reflects light differently from smooth emulsion paint. That is exactly what gives the impression of broken ceramic or stoneware.
Unlike specialist chalk paints from a decorating shop, this blend can be made with products from a DIY store and still remains fairly durable, even though the look is rustic.
More ideas for unique one-off pots
If you want to be a little bolder, the technique can easily be adapted. A second shade, slightly thinned and rubbed over the dried base colour with a dry brush, creates a patina effect. Lighter tones on a darker base can make the pot look washed or lime-coated.
You can also combine smooth areas with patches of thicker bicarbonate-of-soda paint. Edges, handles or relief details then stand out more clearly and begin to resemble hand-shaped pottery. For a more restrained result, it is enough to finish just the upper rim or the saucer in the ceramic style.
If you have lots of pots with different levels of weathering, using the same paint recipe and a closely related palette can unify them visually. On a balcony or by the front door, that creates the impression of a thoughtful, high-quality collection - without having to buy a single new container.
Comments
No comments yet. Be the first to comment!
Leave a Comment