Across Europe and the United States, more households are choosing to refresh tired-looking toilets and sinks rather than tearing them out and starting again. That shift has sparked renewed interest in low-cost, low-waste cleaning methods that can transform a dull, scratched-looking bowl into something impressively close to showroom bright.
Why old toilets look dirty even after cleaning
An older toilet or sink can appear stained for reasons that go well beyond everyday surface grime. In hard-water areas, mineral deposits latch onto the porcelain and build up into a slightly rough layer. Once that happens, dirt, bacteria and odours cling more easily, and many standard bathroom sprays barely make a difference.
With time, three stubborn enemies typically accumulate:
- Limescale: a white or grey crust formed by hard water minerals
- Rust stains: brown or orange discolouration caused by iron in the water supply or ageing pipework
- Organic residue: thin, often invisible films left behind by waste and cleaning product build-up
Once limescale turns into a crust inside a toilet bowl, each flush adds a little more, sealing in stains and smells.
This is why an older toilet can look grubby again within days, while a newer one seems to stay fresh with the same routine. The solution is to dissolve that mineral layer safely-without damaging the glazing or scratching the porcelain.
The half‑glass trick for toilets: why so many swear by it
“Half a glass” usually means a measured, sensible amount of a strong liquid cleaner-often something already sitting in the kitchen cupboard. The specific product varies by household, but the principle stays the same: apply a concentrated dose exactly where it’s needed, then give it time to work.
A small, well-placed quantity of cleaner left for hours often outperforms pouring in a full bottle and scrubbing furiously for a few minutes.
Step-by-step method many homeowners follow
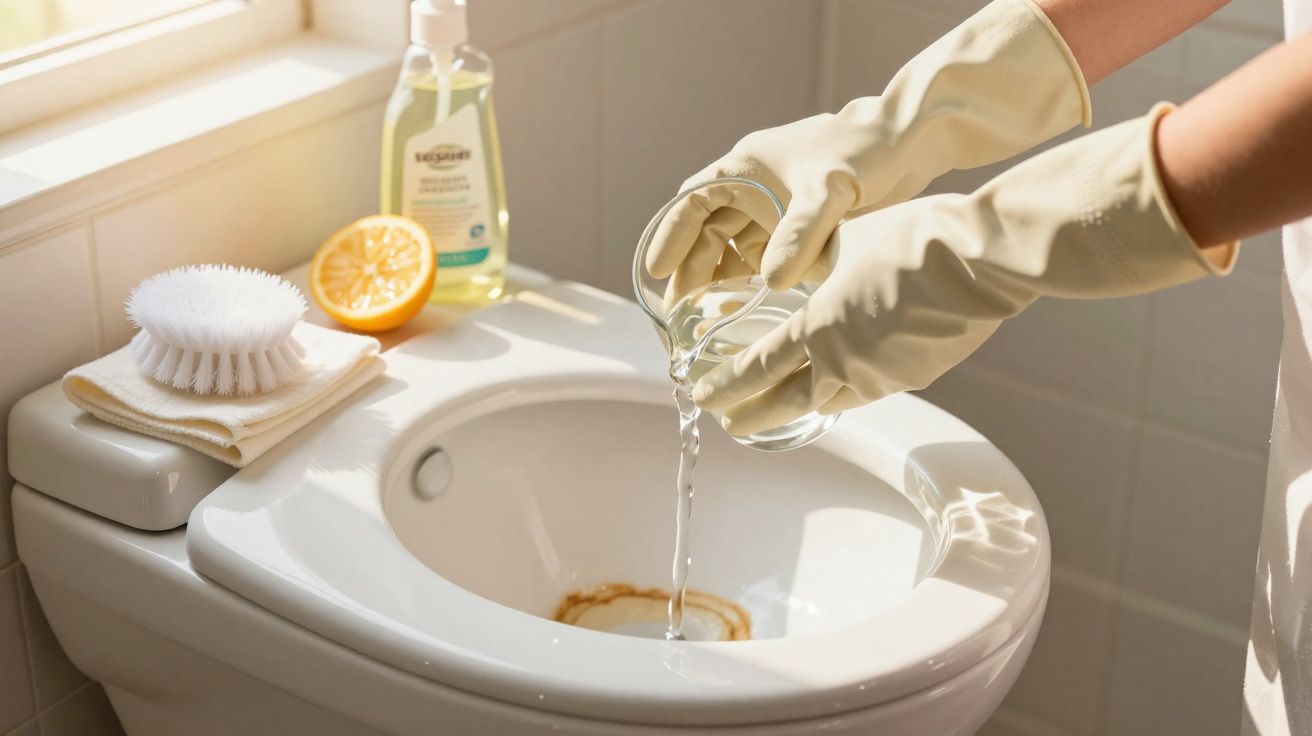
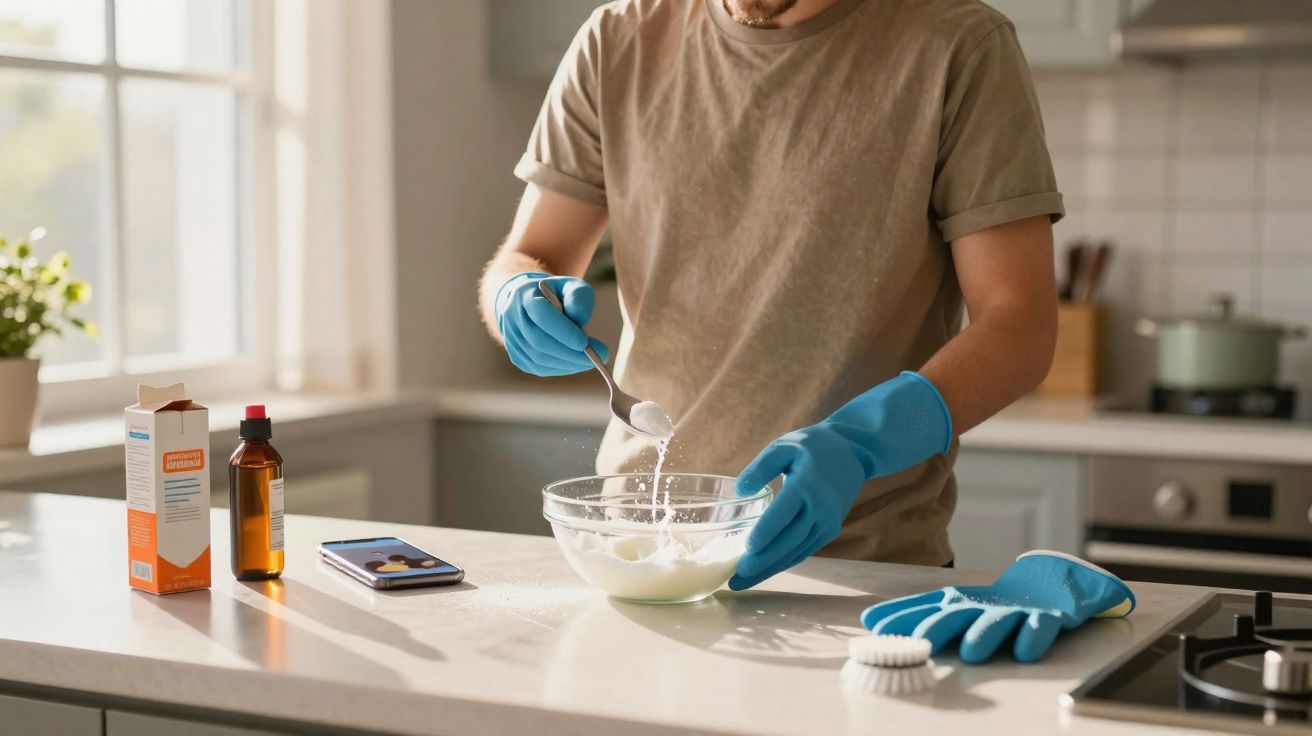
Below is how a “half‑glass” routine is commonly done using everyday acidic options such as vinegar or citric solutions:
- Flush to reduce the water level in the bowl as much as possible.
- Dry the rim and any exposed porcelain with paper towel so the liquid can cling properly.
- Slowly pour about half a glass of your chosen liquid under the rim, allowing it to run down the sides.
- For added effect, soak a few sheets of toilet paper in the same liquid and press them onto stubborn rings or streaks.
- Leave it to sit for several hours-overnight is ideal-with the lid closed.
- In the morning, remove the paper with gloves and scrub gently using a toilet brush or a non-scratch pad.
- Flush twice to rinse everything away.
Because the acid stays in contact for longer, it can soften mineral deposits without harsh scouring. For older, heavily stained bowls, many people repeat the process over several nights.
Natural acids vs chemical cleaners
Most households end up in one of two camps: people who rely on supermarket toilet gels, and those who increasingly use pantry staples such as vinegar, citric acid or baking soda mixtures.
| Cleaner type | Typical benefit | Main risk |
|---|---|---|
| Vinegar or citric acid | Dissolves limescale, low cost, low fumes | Slower results; heavy scale often needs repeated treatments |
| Commercial descaler | Works quickly on thick deposits; designed for toilets | Stronger fumes; can irritate skin and eyes |
| Chlorine bleach | Whitens stains; reduces bacteria and odours | Does not remove scale; overuse can damage surfaces |
Bleach may make a stained toilet look whiter for a few days, but the limescale underneath is usually still there.
A common expert approach is to combine methods separately: use an acid-based cleaner first to break down deposits, then use a small amount of bleach later if disinfection is required-never mixing the two at the same time.
Detailing the bowl: where most dirt hides
A toilet doesn’t only get dirty where you can easily see it. Some of the worst build-up collects in concealed areas.
Under the rim
The small holes beneath the rim feed the flush water, and they often narrow or clog with scale. The result is weaker flushing and brown tracks running down the bowl. A narrow brush (or an old toothbrush) dipped in your half‑glass cleaner can help break up the crust. Some people also soak strips of cloth or cotton pads in an acidic liquid and wedge them under the rim for several hours.
Water line and “ring” stains
That familiar grey or brown ring forms where water, air and minerals constantly meet. After the scale has softened, a mild abrasive-such as a paste of baking soda and a little water-can help if used very gently. Toilet-safe pumice stones are also widely used across Europe and the United States for heavy rings, but they need a careful hand to avoid scratches.
Inside the trap
The trap (the curved section at the bottom of the bowl) holds standing water all the time, which makes it a magnet for odours and deposits. Some homeowners pour their half glass of cleaner directly into that standing water and leave it to rest, occasionally following up with hot (not boiling) water to loosen residue.
Beyond the bowl: reviving the whole sanitary set
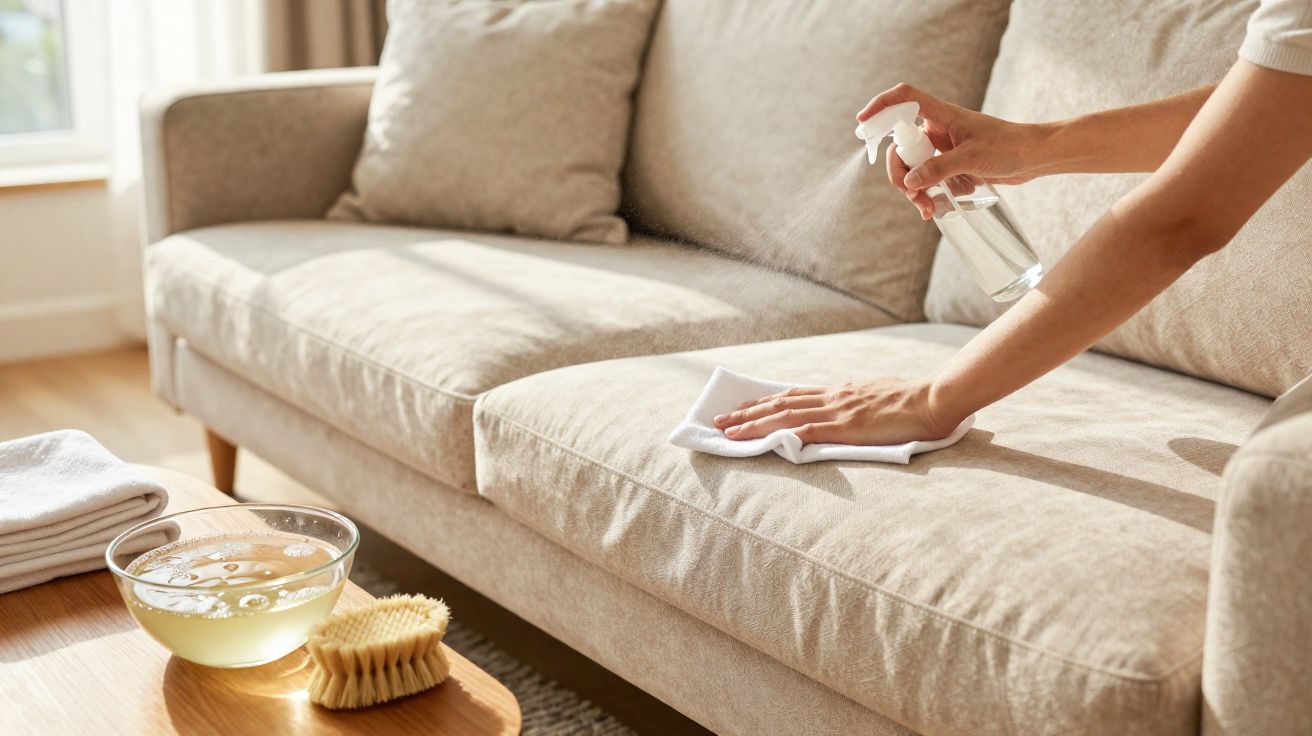
A bathroom rarely looks truly refreshed if only the inside of the toilet is treated. Sinks, taps and tiles often show the same mineral marks, dullness and yellowing.
- Sinks: Laying a cloth soaked in an acidic solution over scale marks often works better than quick wiping.
- Taps: Wrap limescale-prone areas with vinegar-soaked kitchen roll secured with a rubber band for around an hour.
- Silicone joints: Dark, mouldy seals may require a targeted mould remover plus good ventilation-or replacement if the silicone has started to crumble.
Using the same small measured dose of cleaner on taps, sinks and toilets helps an older bathroom look consistent again.
It can also be worth checking the basics that affect how quickly toilets look dirty: a weak flush, a dribbling inlet valve or a slightly overflowing cistern can leave more minerals behind each time. Fixing a small internal leak often reduces ongoing staining and makes any descaling session last longer.
Safety and what not to mix
Older sanitary ware often comes with older plumbing, so a careful approach matters. Strong chemicals can react badly with metals, seals and residue from other cleaners.
Key points many plumbers repeat:
- Never mix bleach with vinegar, descalers or any acid; the reaction can release toxic gas.
- Avoid metal scouring pads on porcelain, as they scratch the surface and make future staining worse.
- Ventilate the bathroom whenever you use any concentrated cleaning product.
- Wear basic protection: gloves, and if fumes are noticeable, take regular breaks outside the room.
If you are disposing of leftover strong cleaners, avoid tipping concentrated chemicals into a septic system. Follow the product label guidance and consider diluting appropriately, as harsh chemicals can disrupt beneficial bacteria in some waste systems.
How often to repeat the “like new” routine
Older toilets won’t stay pristine for long if the water is hard or the flush is underpowered, so a realistic schedule helps. Many households settle on a two-tier routine:
- Light cleaning with a toilet brush and mild cleaner two or three times a week
- A deeper half‑glass descaling session once a month, or every fortnight in very hard water areas
In regions with extremely mineral-rich water, some people fit compact filters or water softeners to slow future build-up. Others simply accept that a monthly “restoration night” has joined the household calendar alongside defrosting the freezer or washing curtains.
When cleaning cannot rescue an old toilet
Even the cleverest half‑glass trick has limits. Deep cracks, worn glazing and persistent leaks can indicate the porcelain has aged beyond cosmetic recovery. At that point, repeatedly reaching for harsher cleaners may backfire by increasing roughness-making it easier for bacteria and stains to cling.
Environmental groups often encourage keeping sanitary ware in service for as long as practical, because producing and transporting new ceramics carries a significant carbon footprint. That is one reason gentle, repeatable cleaning methods have gained attention: they can keep fixtures usable and presentable for years longer before replacement becomes unavoidable.
Extra insights: why acidity works and where it fails
The effectiveness of many toilet restoration hacks comes down to simple chemistry. Limescale is largely calcium carbonate. Acids break it down into soluble salts, releasing gas bubbles that help lift deposits off the surface.
However, that same chemistry won’t solve everything. Yellowing from cigarette smoke, dye spills, or damage to the glaze is unlikely to respond much to vinegar or citric acid. In those cases, specialist repainting products for sanitary ceramics-or professional refinishing-may be the only realistic way to achieve a visual upgrade.
For renters or anyone watching their spending, it helps to tell the difference between removable scale and permanent damage. A practical test is to treat a small patch with one overnight acidic application: if it brightens noticeably, the issue is mostly scale; if it looks unchanged, the surface itself may be worn.
Used sensibly, the humble half glass of cleaner is less a miracle cure and more a precise tool. With patience, basic protection and a clear understanding of what old porcelain can (and cannot) recover from, it can keep toilets and basins looking respectable far longer than most people expect.

Comments
No comments yet. Be the first to comment!
Leave a Comment