A few unremarkable crumbs from the kitchen can be the deciding factor in summer between bowls brimming with raspberries and shrubs that leave you disappointed.
Many home gardeners are baffled: same variety, same sunshine - yet the neighbour’s canes carry twice as much fruit. The reason is often not the plant at all, but what’s happening under it. If you give your raspberries one specific everyday leftover, you can noticeably lift the harvest - without chemicals, for next to nothing, and with a simple post-breakfast routine.
Why raspberries sulk when the soil is wrong
Raspberries are often described as easy-going, but yields still frequently fall short. To crop properly, the plants rely on three basics: a slightly acidic growing medium, even moisture, and a steady trickle of nutrients.
They’re particularly quick to show problems when:
- the soil is compacted and heavy
- there’s too much lime, pushing the pH away from the slightly acidic range
- they’re expected to “keep up” without support: each year they produce new canes, and that growth demands energy and nutrients
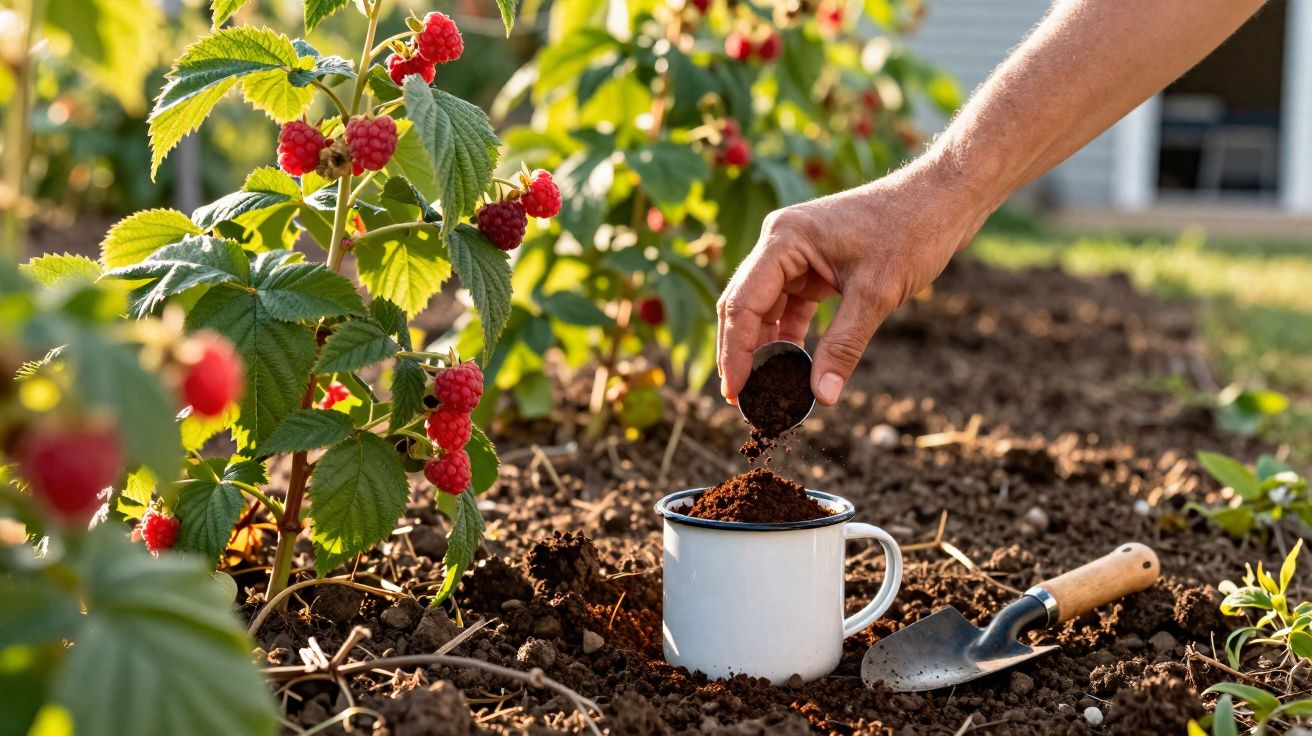
If you simply plant, water and hope for the best, you’re leaving results on the table. This is where something that usually ends up in the bin becomes useful: coffee grounds.
Coffee grounds for raspberries: what one cup can do in the bed
One cup (around 250 ml) of dried coffee grounds per raspberry plant can be the difference between a meagre handful and generous bowls of fruit.
Coffee grounds are far more than brown dust. They contain nutrients that berry shrubs make good use of:
- Nitrogen - drives leaf growth and supports new shoots
- Phosphorus - helps with flowering and fruit set
- Potassium - strengthens plant tissue and improves fruit quality
- Minerals and trace elements - feed the soil life that keeps the bed functioning
On top of that, coffee grounds can improve soil texture. In heavier, clay-leaning ground, they help the soil become more open and workable, while holding water in a steadier way. Rainwater soaks in more evenly, waterlogging is less likely, and roots get more air - all of which supports vigorous raspberry canes.
A natural nudge against unwanted visitors
There’s also a practical side benefit: coffee grounds can make certain pests less keen to hang around. Many gardeners find that slugs and ants are less active in areas where coffee grounds are used regularly. It’s not a chemical “wipe-out”, but more of an unfriendly surface and smell that encourages them to forage elsewhere.
Coffee grounds feed microorganisms, loosen the soil, and may deter slugs and ants - three effects from one simple habit.
How to use the “cup method” correctly
The principle is simple: work roughly one cup of dried coffee grounds into the soil around each plant’s root zone - often enough to matter, but not so much that you upset the balance.
Step-by-step: from the kitchen to the bed
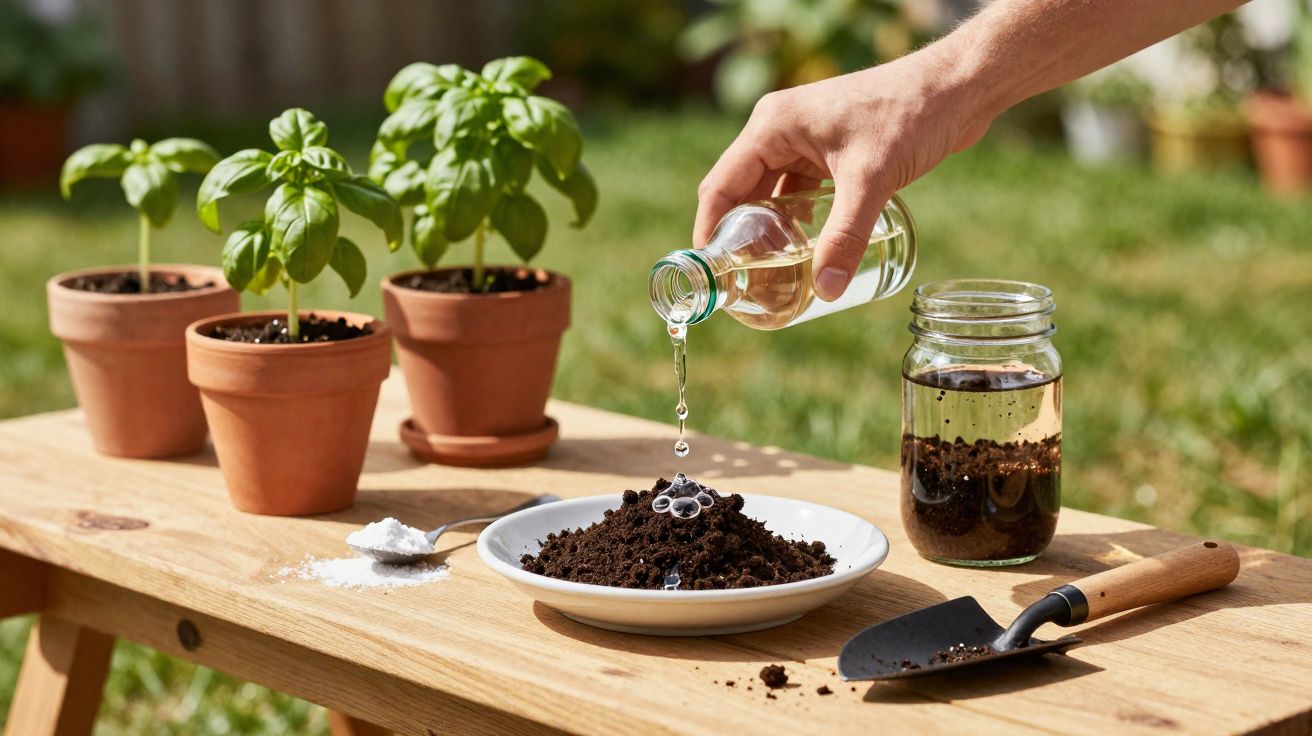
- Collect coffee grounds: empty the filter or cafetière/strainer after brewing.
- Dry them thoroughly: spread the grounds on a plate or baking tray until fully dry to reduce the risk of mould.
- Begin in spring: apply the first dose as soon as the raspberries start putting on new growth.
- Incorporate lightly: sprinkle a thin ring around the plant and mix it into the top few centimetres of soil with a hand fork or your fingers (avoid digging deeply around roots).
For quantities, keep to a clear upper limit:
- 1 cup per plant per application
- 1–2 applications per month during the growing and harvesting season
Overdoing it can make the soil too acidic and leave plants stressed. The strength of the cup method is consistency, not volume.
Three ways to use coffee grounds, one aim: more (and better) raspberries
| Option | How to do it | Benefit | Risk |
|---|---|---|---|
| Direct application | Work dried coffee grounds into the soil around the plant | Fast nutrient boost, improved soil structure | Too much can acidify the soil |
| As mulch | Sprinkle a very thin layer on the surface and mix with leaf mould or compost | Slow release, better moisture retention | Thick layers can crust over |
| In the compost | Add regularly to the heap and balance with “browns” (woody/leafy material) | More balanced feed, low risk of overdoing it | Benefits reach raspberries later |
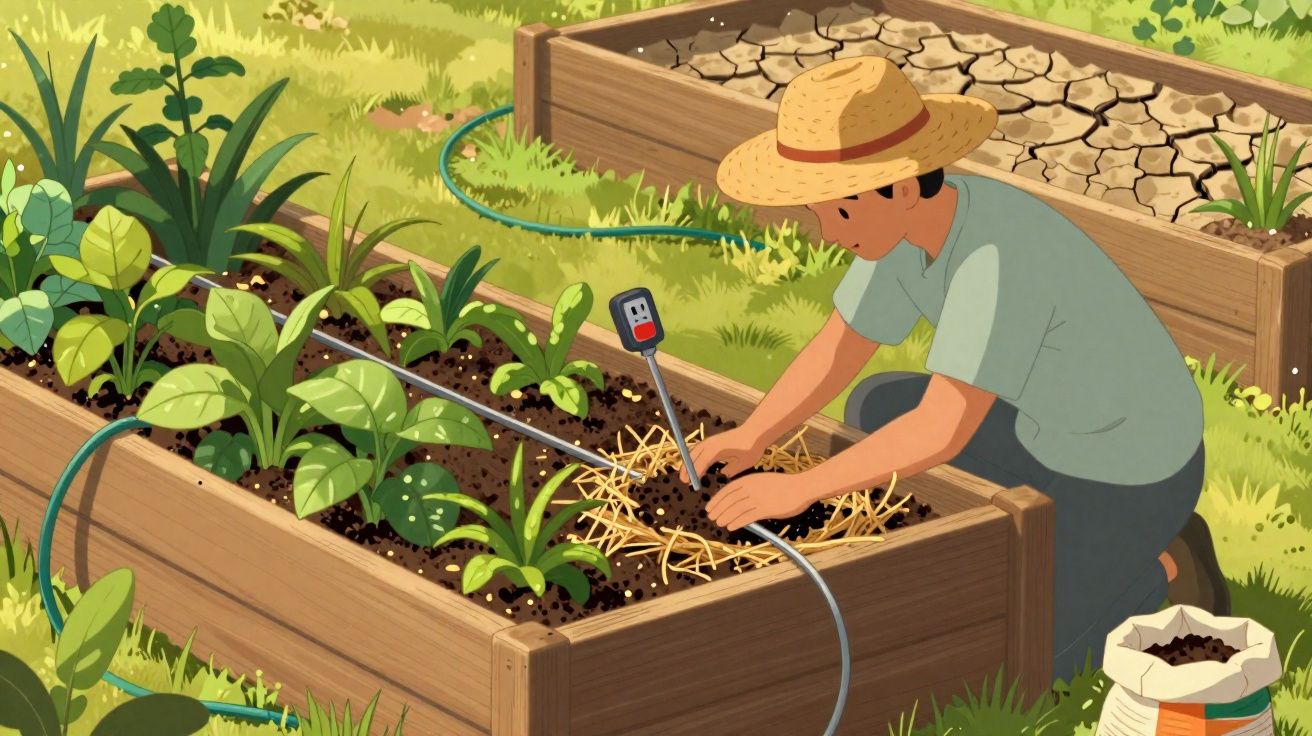
Mulching with coffee grounds: thin is sensible
If you prefer mulching, apply coffee grounds as a fine dusting, then blend them with other materials such as leaf mould, straw, or shredded prunings. Done this way, you create a breathable cover that holds moisture, suppresses weeds, and releases nutrients gradually.
A pure, thick coffee-ground layer isn’t ideal: it can compact into a sealed crust, slow water penetration, and develop surface mould. The mix is what makes it work.
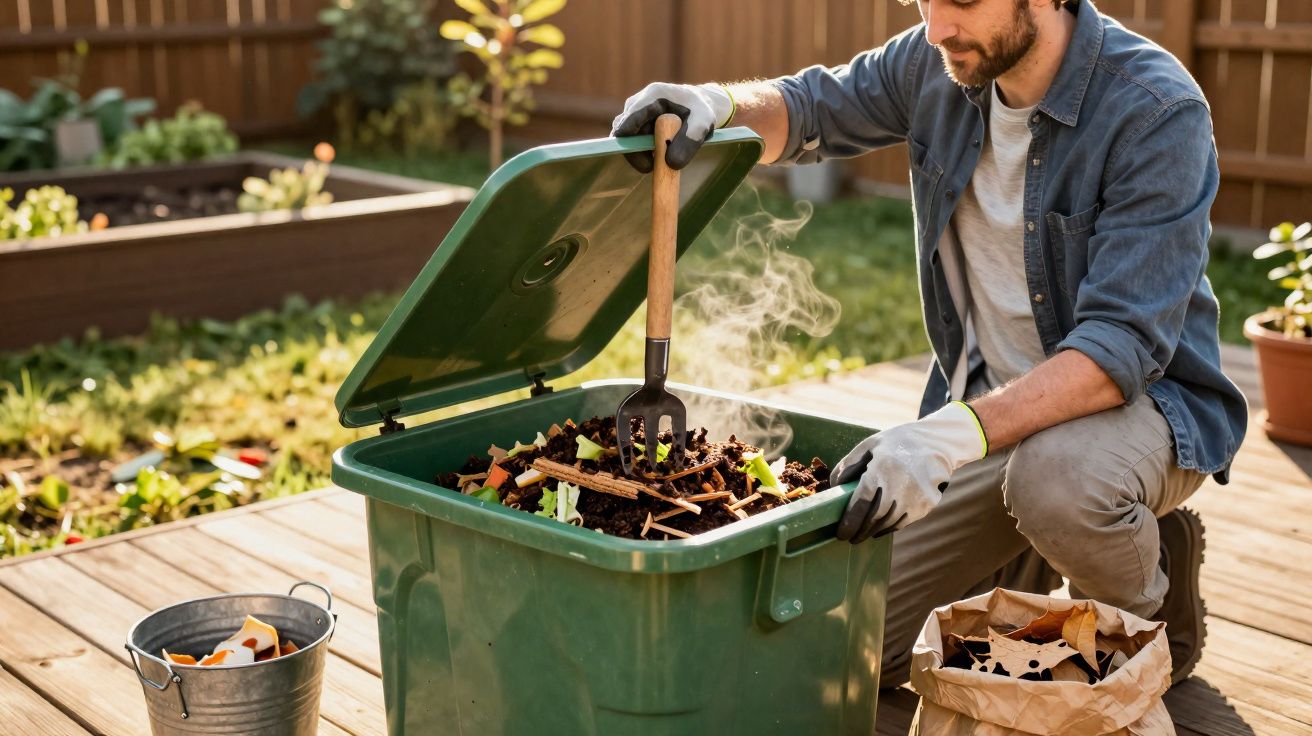
Coffee grounds in compost: the low-risk route
Many experienced gardeners choose to send most coffee grounds through the compost first. In the heap, the grounds act as “greens” and rot down alongside prunings, leaves and kitchen scraps. Once the compost is mature, it can be spread in the raspberry bed to provide a broader nutrient profile without pushing the pH too sharply in one direction.
What “doubling the harvest” can look like in real life
So what does “double the harvest” mean on the ground? If your raspberries have been underfed and growing in compacted soil, improving nutrition and soil structure can quickly lead to more flowers and more fruit. More canes, stronger foliage and better fruit set often translate into a noticeably fuller pick.
A more realistic pattern is a staged improvement:
- Year one: sturdier growth and more new shoots
- Year two: clearly more fruiting canes and larger berries
- Long term: tougher plants that cope better with dry spells
Think of one cup of coffee grounds not as a lab-made turbo boost, but as a regular breakfast for your shrubs.
Keeping the balance: risks and what to do about them
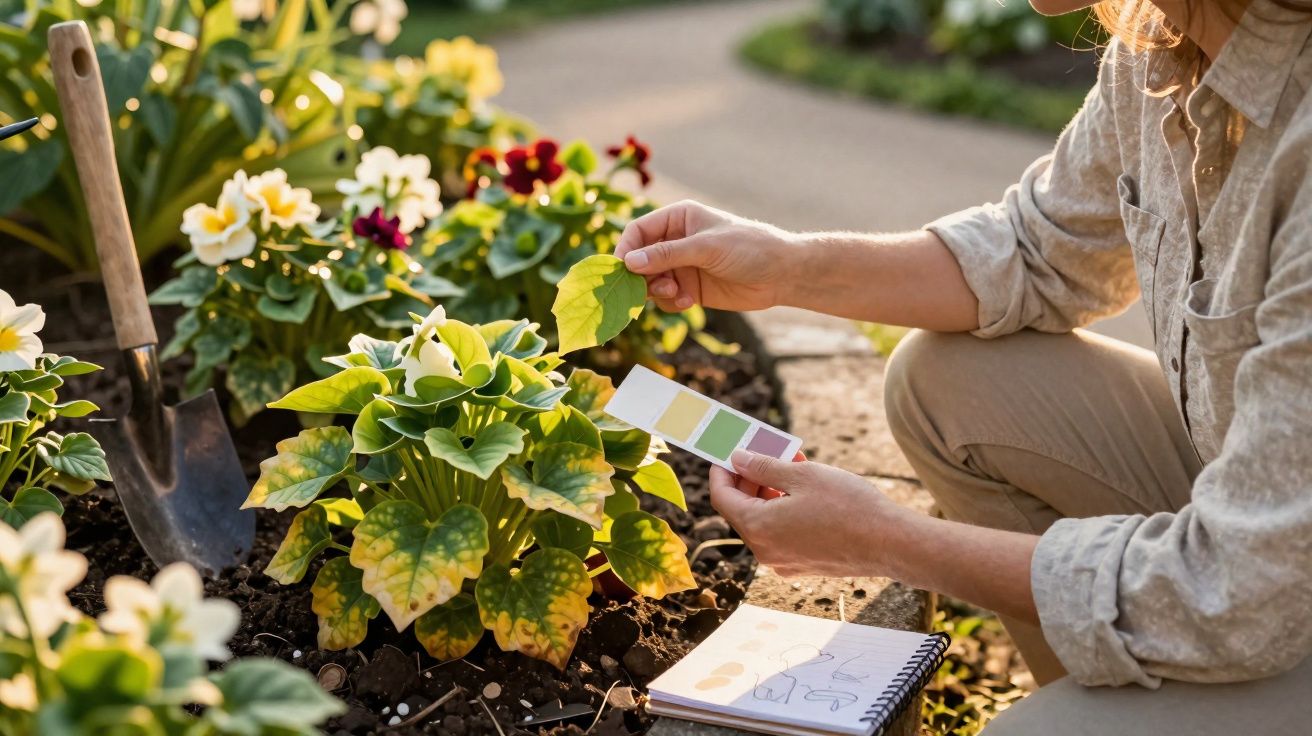
Too much coffee grounds can push the soil towards being overly acidic. Typical signs include stunted leaves, weaker growth and fewer berries. If your soil is already very acidic, it’s wise to test it or avoid direct application and rely mainly on composted grounds instead.
A straightforward way to keep things steady is to avoid using coffee grounds in isolation and combine them with other organic materials, such as:
- well-rotted garden compost
- small amounts of thoroughly aged manure
- thin layers of chopped, partially rotted leaves
This creates a broader, more stable nutrient mix that supports soil life without tipping conditions too far.
Everyday garden scenarios: how it plays out
Scenario one (heavier soil): A row of summer-fruiting raspberries on clay soil has produced only a few small bowls each year. The gardener begins saving coffee grounds daily, dries them, and from April applies the cup method twice a month per plant. At the same time, the bed is mulched with leaves and a little compost. After one season the canes look denser and more robust. In year two, the difference is obvious during picking: more clusters, larger berries, and fewer fruits shrivelling on the plant.
Scenario two (sandy soil): In free-draining ground, raspberries often suffer during hot spells. Here coffee grounds help in two ways: they slightly improve water-holding capacity, and a mulch blend of coffee grounds, compost and grass clippings reduces evaporation. The plants hit stress points less often, which can show up directly in berry size and flavour.
Helpful background for the curious (pH, humus and timing)
If pH feels abstract, remember this: raspberries tend to be happiest in a slightly acidic range, roughly pH 5.5 to 6.5. Coffee grounds generally nudge conditions in the acidic direction. That can be useful on lime-rich soils, while gardeners in already acidic areas should be more cautious and consider a simple pH test kit before applying regularly.
“Building humus” means that organic matter (including coffee grounds) is broken down by soil organisms into stable material that behaves a bit like a sponge: it holds water and nutrients and helps the soil cope better with both heavy rain and dry periods - a real advantage in increasingly unpredictable UK summers.
Two extra tips to get the most from coffee grounds and your raspberry bed
Good feeding works best alongside good husbandry. If you want the cup method to pay off, make sure your raspberries are also managed well: remove weak or crowded canes, tie in healthy new growth, and keep watering consistent during flowering and fruit swelling. Nutrients help, but only if the plant can turn them into strong, well-lit fruiting canes.
Finally, store and handle coffee grounds sensibly. Always dry them before use, and apply them to damp soil rather than letting them form a dry mat on the surface. If you notice any crusting, lightly rake the top layer and mix in leaf mould or compost - the goal is a living, breathable soil, not a sealed cap.

Comments
No comments yet. Be the first to comment!
Leave a Comment