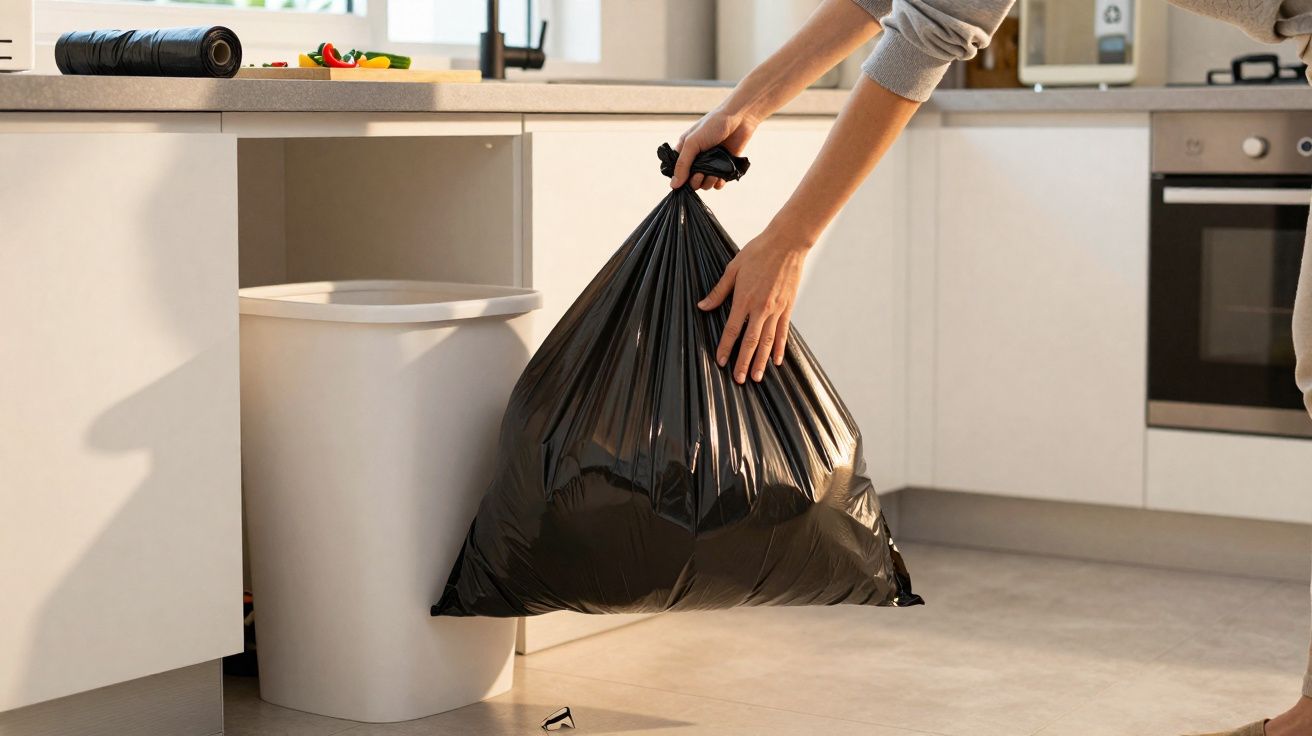
The bin bag looks perfectly decent when you tug it off the roll: smooth, glossy, full of optimism. You fit it into the bin, pat it into place, and feel momentarily smug about how organised you are. Then real life gets involved. Coffee grounds, soggy peelings, yesterday’s chicken bones, and that half-forgotten jar of pasta sauce lurking at the back of the fridge.
Come collection day, you grab the handles, lift… and there it is: that dreadful, soft tearing noise. A heartbeat later, rubbish is on the floor and you’re left holding two limp plastic loops.
You’re fed up, mildly revolted, and quietly convinced bin bags were invented by someone who dislikes you.
There is, however, a tiny, almost absurdly simple trick that prevents this entire drama.
Why bin bags fail at the worst possible moment
If your bin bags seem to split precisely when you’re trying to take them out, it isn’t just bad luck. Many kitchen bins are basically a rigid plastic trap: thin liners, sharp edges around the rim, heavy damp waste, and that final overconfident shove before you force the lid shut. Each of those details adds a little more strain to the plastic.
At first, nothing obvious happens. Then the pressure accumulates-an invisible pinhole near the top, a seam that’s slightly overstretched at the base. You only find out when gravity gets a say and the contents end up on your tiles.
Think back to the last time it went wrong. Perhaps it was a bag of wet pasta and jars that shifted as you carried it. Or maybe the bin was packed so tight you had to wriggle the bag out, only for it to split down the side like a zip opening.
A survey by a major household brand even put torn bin bags among the three most irritating cleaning mishaps-alongside blocked drains and vacuum bags that burst. It’s not exactly a dinner-table topic, but in kitchens up and down the country, the same small frustration repeats every week.
The underlying culprit is simple: tension.
Bin bags don’t only fail because they’re “cheap”. They rip because they’re already under stress long before you touch the handles. When the liner grips the bin walls like a second skin, every new item stretches it tighter. Weight thumps into the bottom corners, forcing plastic into the most stressed points. By the time you lift, the bag is already on the verge-your pull is just the final nudge.
The shockingly simple trick for bin bags: let the air out
The most effective way to prevent most tears is almost laughably basic: stop the bag vacuum-sealing itself to the bin by giving trapped air somewhere to go.
Before you fit the bag, make two or three small “breathing” holes in the side of the bin near the bottom (or use any vent holes that are already there). These openings let air escape from between the liner and the bin. Without that suction effect, the bag doesn’t cling to the walls.
As you drop waste in, the plastic can shift naturally rather than stretching tight like a drum skin. When it’s time to take the bag out, it slides more easily, feels lighter, and is far less likely to split.
If drilling holes into your bin feels a bit much, you can apply the same principle without tools. Once the bag is in place, lift it slightly and let it drop back down so air can move underneath. Then lightly smooth the sides rather than pressing the liner tightly against the bin.
Another low-effort addition: place a couple of dry sheets of newspaper or a piece of cardboard in the bottom of the bin before inserting the bag. That creates a small buffer zone-less contact, less friction, and less chance of the plastic “sticking” and tearing as you lift.
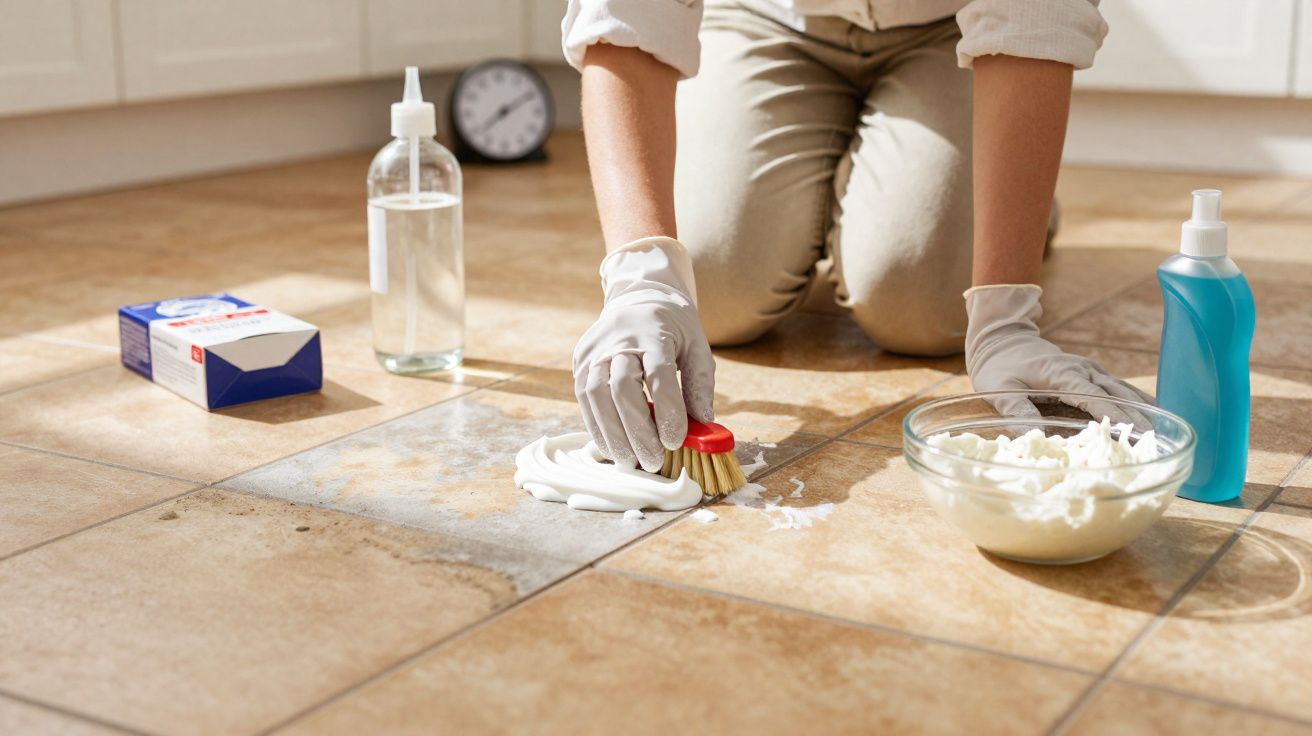
Realistically, nobody does this perfectly every day. Most of us shove the liner in, throw rubbish on top, and only start caring about “technique” when we’re crouched on the floor scraping old sauce out of grout. Still, the air-release trick pays you back twice: fewer tears and less strain on your back because the bag comes out smoothly instead of fighting you.
“The day I drilled two holes in my bin, my life improved by about 2%. Which doesn’t sound like much until you’ve had to scrub tomato sauce off white grout at 7 a.m.”
- Léa, small-flat resident who refuses to be defeated by her bin
- Drill 2–3 small holes near the lower sides of the bin to release trapped air.
- Fit the bag loosely, then lift and drop it once so it doesn’t cling.
- Add a flat “cushion” (cardboard or newspaper) at the bottom for extra protection.
- Never overfill above the rim; start a second bag instead.
- Use slightly thicker bin bags for heavy waste days (after parties, fridge clear-outs, big cooking sessions).
Choose the right bin bag size (and avoid creating weak spots)
Even with venting, bin bags tear more easily when they’re the wrong size. If the bag is too small, it stretches across the rim and corners from the moment you fit it, which weakens the plastic before any rubbish goes in. If it’s too large, excess material bunches and snags when you lift, increasing the chance of a split along a fold.
A quick rule that helps: aim for a bag that sits comfortably over the rim with enough slack to move, but not so much extra that it gathers in thick creases. If your bin has an inner lip or liner ring, use it-anything that reduces scraping against sharp edges protects the bag’s seams.
Manage sharp and wet waste so the bag doesn’t puncture from the inside
Some tears aren’t from suction at all-they start as punctures. Chicken bones, broken glass, metal lids and hard packaging corners can spear the plastic, especially when the bag is heavy and damp. Where possible, wrap sharp items in a few layers of paper, or place them in a small box before they go into the bin bag. It’s a tiny step that can save you from a leak trail across the hallway.
Bin bags that don’t tear change more than just your floor
When your bin stops “exploding” over the kitchen, the whole routine becomes easier. You’re less tense when you empty it. You don’t brace yourself for that suspiciously heavy lift or the wobble on the way to the outside bin. The job shrinks from “I hate this” to “two minutes, done”.
It sounds minor-almost silly. But days are made of small points of friction. Remove a few of them, and you get that mental space back for everything else.
| Key point | Detail | Value for the reader |
|---|---|---|
| Vent the bin | Drill small holes or release trapped air so the bag doesn’t suction to the walls | Reduces tears and makes bags easier to lift |
| Protect the bottom | Use cardboard or paper as a buffer for sharp or wet waste | Limits punctures and messy leaks onto the floor |
| Respect the bag’s limits | Avoid overfilling and match bag thickness to how you use it | Extends bag life and reduces emergency clean-ups |
FAQ: bin bags, suction and tearing
Why do bin bags always stick to the bin?
Because as you add rubbish, air gets trapped between the liner and the bin walls. That trapped air creates a vacuum-like suction, pulling the plastic tight and making the bag harder to lift without splitting.Is it safe to drill holes in my bin?
Yes-provided the holes are small and placed on the lower sides, not in the base. Your bin can still contain small leaks, while the trapped air escapes far more easily.Where should I put the cardboard or paper at the bottom?
Lay it flat in the empty bin before fitting the bag. It works like a protective layer, reducing friction and helping guard against glass, bones, or anything that might pierce the plastic.Do I really need thicker bin bags?
Not necessarily. For everyday kitchen waste, venting and avoiding suction is often enough. Thicker bags are helpful on heavier days-clearing out the fridge, having friends round, or throwing away lots of bulky packaging.My bag still tears at the handles-what else can I do?
Stop filling at around two-thirds full or just below the rim. Close the lid to gently compress the contents rather than forcing more in by hand. If it feels heavy, don’t swing it by the handles-support the bottom as you lift.


Comments
No comments yet. Be the first to comment!
Leave a Comment