Many homeowners scrub their patio every spring, only to be faced with the very same weed problem a few weeks later.
If you have block paving or paving slabs around the house, you will know the pattern: as soon as winter is over, the joints start filling up with growth. So out come the weeds, the sprays and the brushes - and then, before long, everything is sprouting again. In many cases, the real mistake is not the method at all, but the date on the calendar.
The real reason weeds between paving slabs keep returning
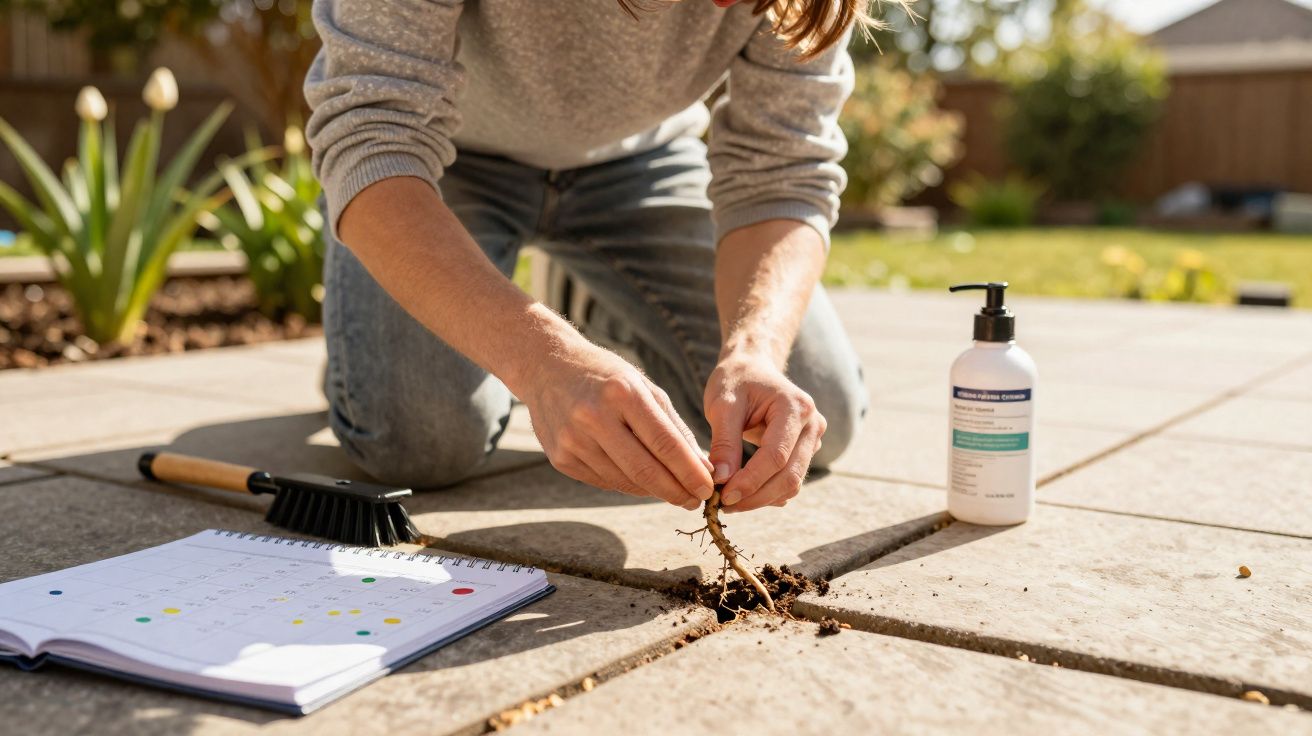
Between paving blocks, hardy species such as dandelion, thistle and plantain usually take hold. These plants put most of their energy into a strong taproot, and that is where the problem begins.
For many amateur gardeners, the routine is familiar: in spring they pull the plants out only half-heartedly, cut them off at the base or sweep them away. The surface may look tidy at first glance, but most of the root stays behind beneath the ground.
If you only cut weeds off at the top, you leave as much as 90 per cent of the plant mass in the soil - and that encourages fresh shoots.
For that reason, gardeners and professional associations keep stressing the same point: the entire root has to come out. Even when the tool is right, one factor is often underestimated - the best time of year and the right weather window.
Why you should avoid spraying before mid-May
In March or April, many people reach for homemade solutions such as vinegar mixtures, plant decoctions or bicarbonate of soda, because chemical products are largely prohibited on private surfaces. These remedies only work through contact with the leaves, and they dissolve easily in water.
That is exactly where most attempts fail. March and April often bring showers and changeable weather. If rain falls within a day or two of treatment, the active substance is simply washed away before it can do its job.
If you spray in April and then get rain shortly afterwards, you may as well have poured your time and money straight down the drain.
The rule of thumb, therefore, is to wait in spring until after the traditional cold spell in May, roughly until the middle of the month. From then on, the chances of having several dry days in a row improve noticeably.
How to pick the right spring weather window for weed control
To make sure biological treatments can actually work, a few simple rules help:
- Check the forecast for at least five days
- Only begin when at least 72 hours without rain are expected
- Spray only on dry leaves and dry joints
- Work in the morning so the sun can reinforce the effect
A handy practical trick is the tissue test: place a paper tissue on the joint and wait briefly. If it stays dry, both the joint and the foliage are ready for treatment. If it turns damp, it is better to wait until everything has dried out.
Before starting any treatment, it also helps to sweep away loose grit, leaves and moss so you can see the joints properly. This makes it easier to spot hidden root fragments and ensures contact treatments are not blocked by debris.
If your patio borders flower beds or lawn, shield nearby plants with cardboard or a sheet while working. That reduces the risk of splashes or drift affecting the wrong area.
Autumn: the secret power period for permanently cleaner joints
The second, and often more important, lever lies between early September and the end of October. During this phase, many plants adjust their metabolism for winter. Their leaves produce sugar, which is then stored in the roots so they can survive the cold season.
If you remove weeds together with the root at exactly this point, you hit the plant where it hurts most: in the energy store below ground.
Between early September and late October, every cleanly removed root ball weakens the plant’s reserves quite noticeably.
The result becomes clear the following year: the joints green up more slowly, the gaps between cleaning sessions get longer, and the whole area becomes much easier to maintain.
How to get the root fully out of the joint
For the autumn job, you only need a simple but suitable set of tools:
- Joint knife or weed puller with a narrow blade
- Special fork or asparagus knife for deeper taproots
- Wire or metal brush for moss and fine leftovers
- Clean sand to refill the joints
The technique itself is unglamorous, but it works:
- Work after a rain shower or after watering, because moist soil releases roots more easily.
- Push the blade into the joint right at the base of the stem, as close to vertical as possible.
- Ease out the soil and root as a single block with a gentle levering motion, rather than simply tearing it away.
- Afterwards, clean the joint with the brush and remove moss and remaining fragments.
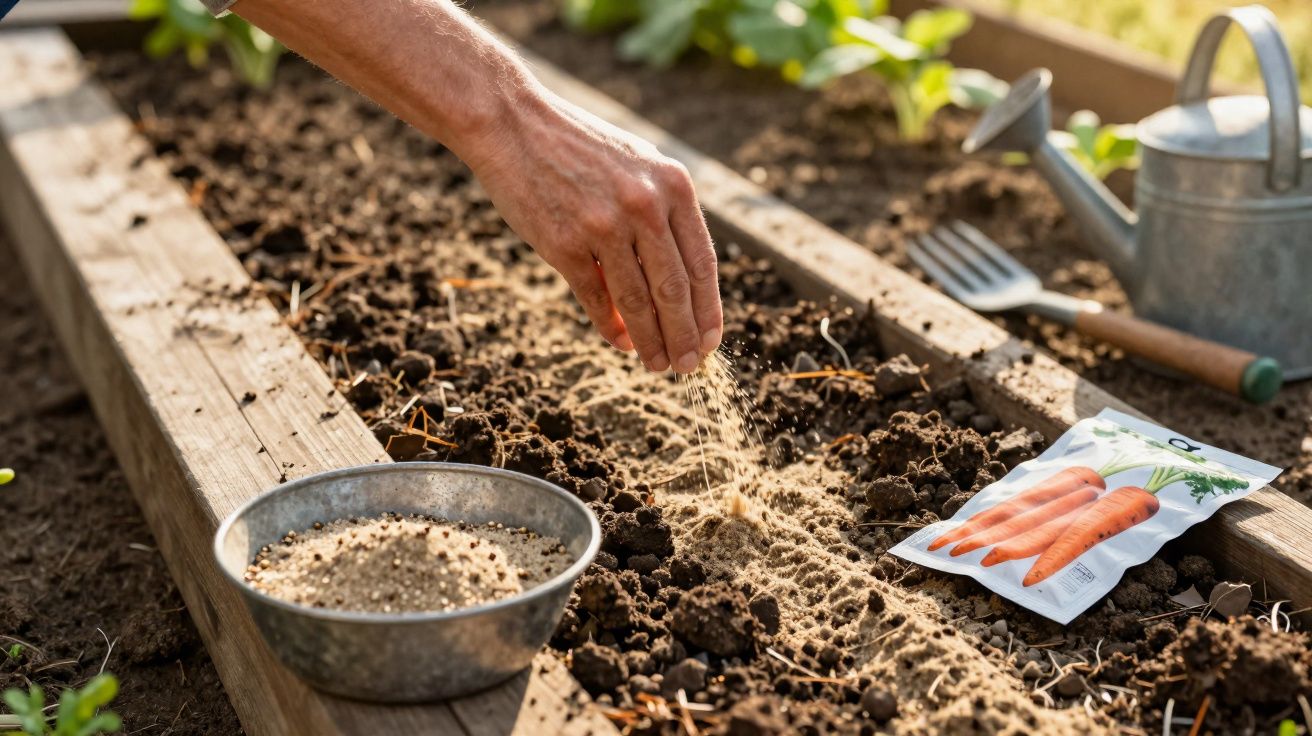
- Refill with clean, as low-germ as possible sand and tamp it down firmly.
A fully topped-up joint has a major advantage: seeds find less grip, light penetrates less effectively, and moisture does not build up as easily. All of that slows down new growth considerably.
Why salt is such an expensive mistake
When frustration rises, some people turn to quick but risky fixes - with unpleasant consequences for the soil, the paving and the environment.
Table salt can look impressive at first. The plants turn brown and dry out on the surface. But underneath the slabs, long-term damage begins.
Salt does not just destroy weeds; it can also damage the soil, the stability of the joints and, in the worst case, the area around your patio.
If salt reaches the soil, it draws moisture out of it, makes the ground hard and compacts it. The result is that joints crack open, slabs can loosen over time, and microorganisms in the soil die off. That can even affect nearby borders and groundwater areas. A fast visible effect comes at the cost of lasting harm.
The most common mistakes when clearing weeds from joints
Alongside salt, several similarly problematic methods keep turning up:
- Spraying just before forecast rain: the treatment is washed away and ends up in the drain instead of on the leaf
- Rushing in spring: plants pulled out too quickly often regrow from the roots left behind
- Using boiling water on unstable joints: this can wash out mortar or sand and make the whole surface less stable
If you want peace for the long term, you do not need a radical attack - you need a smart combination of timing, tools and a little patience.
Your year-round plan for weed-free paving joints
A rough annual schedule helps you batch the work instead of constantly chasing the problem:
| Period | Measure | Goal |
|---|---|---|
| Mid-May to June | Targeted use of contact treatments in dry weather | Suppress active plants on the surface |
| Summer | Occasional follow-up with a brush and joint knife | Keep new growth under control |
| Early September to late October | Intensive root removal, refill the joints | Weaken root reserves and stabilise the surface |
| Winter | Quiet period with only visual checks | Spot damage to joints and slabs |
If you are dealing with a larger patio, it is sensible to divide the area into sections and work through them one by one. That keeps the pace steady and stops you overlooking awkward corners or narrow joints.
Why timing matters more than the product itself
Whether you are using a vinegar solution, a plant brew, boiling water or good old-fashioned manual effort, most methods can work to some extent. The decisive factor is when you use them.
In spring, a stable dry spell matters because contact treatments need time to work. In autumn, you take advantage of the natural weakness of the roots and strike at the plant’s energy reserve. Anyone who uses both windows consistently will cut the workload significantly.
Thinking ahead about the joints and the base layer pays off in the years that follow: joints that are well filled and compacted, a sound sub-base and a careful eye on the weather will beat almost any rushed attempt with salt or random leftover chemicals from the shed.
That turns patio upkeep from a nagging permanent chore into a few carefully planned jobs each year - with a clear benefit. Instead of starting from scratch every spring, the surface stays clean, stable and attractive for much longer.


Comments
No comments yet. Be the first to comment!
Leave a Comment