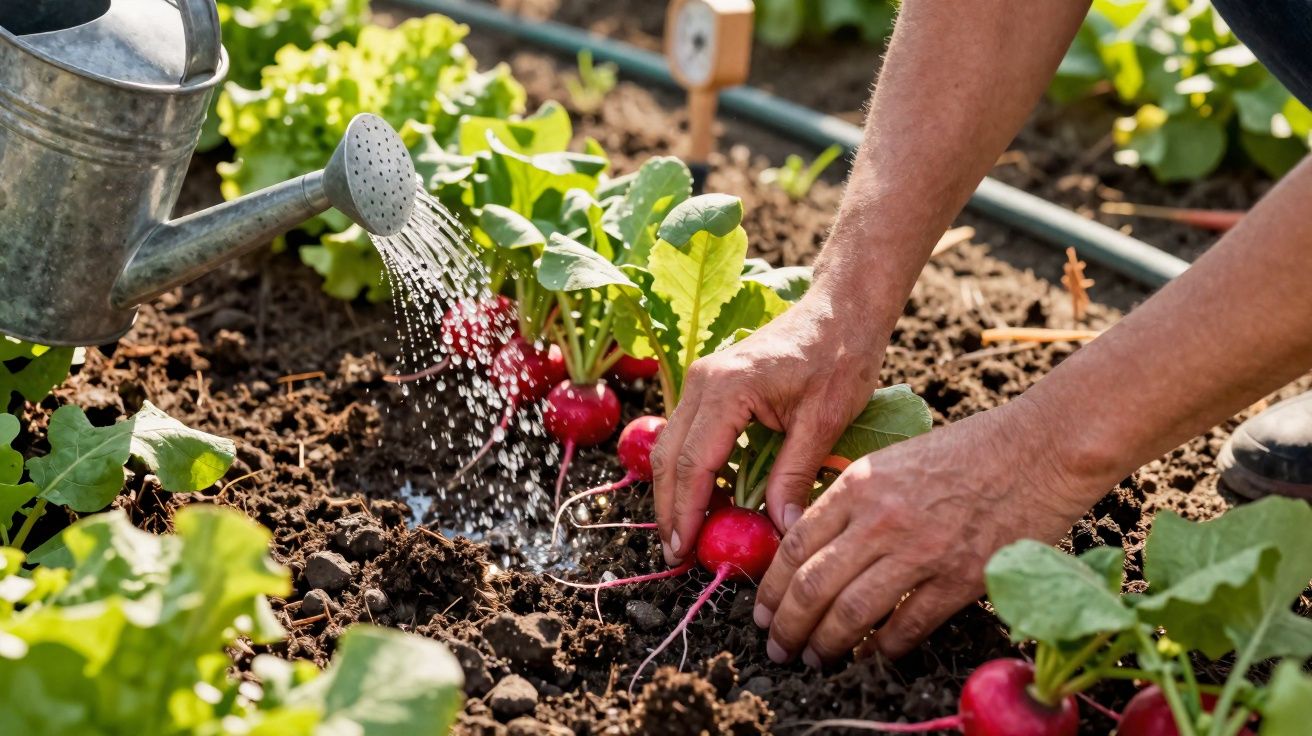
Radishes are often sold as the perfect first crop: open the packet, sow quickly, harvest a few weeks later, done. In practice, it rarely goes that smoothly. Suddenly the roots are hot, fuzzy inside, or even split. The cause is usually not “bad seed”, but a very specific care mistake that can be avoided with one simple habit.
The real key to radishes: evenly moist soil
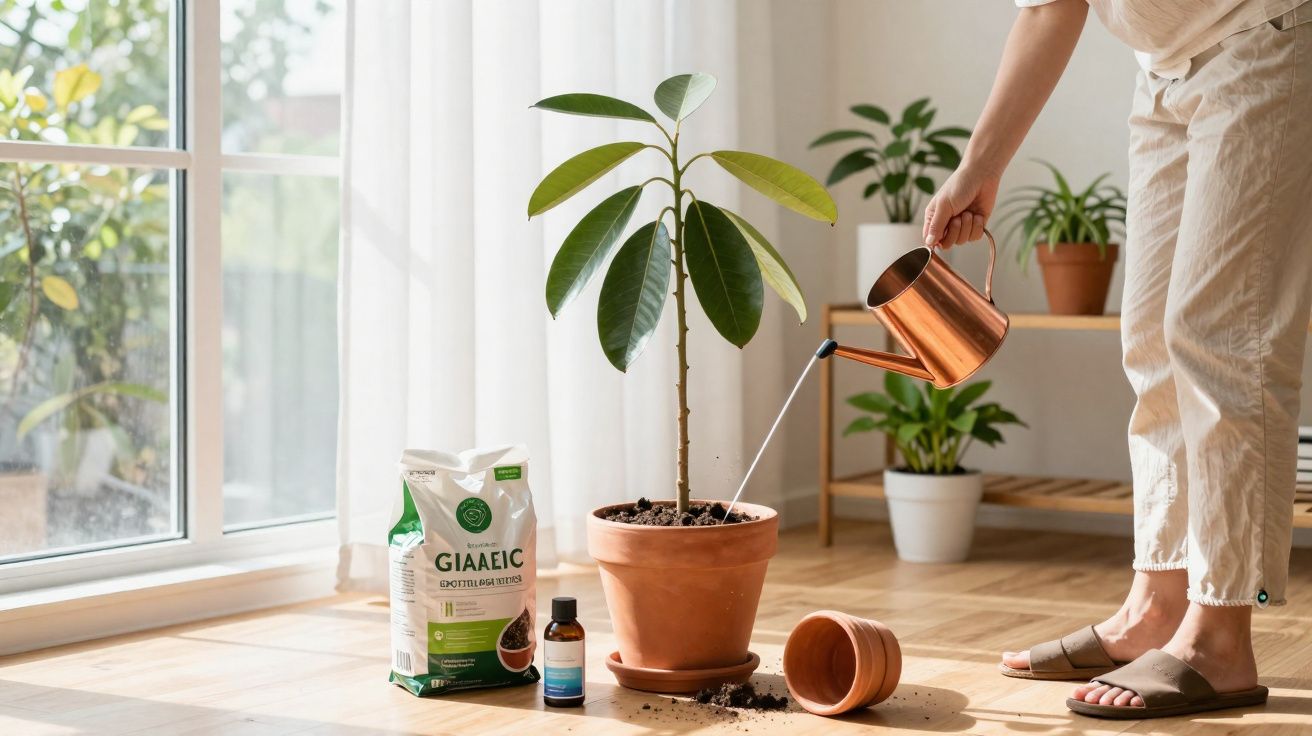
Radishes are hardy enough, but they react surprisingly strongly to swings in the soil. Above all, watering determines whether the roots stay crisp or become inedible.
The most important trick for flawless radishes is to keep the bed evenly moist - never waterlogged, never parched.
If that balance tips the wrong way, the usual damage soon appears:
- Dry spells make radishes sharply peppery and turn the flesh hard and woody.
- Sudden changes between dry and wet cause the roots to split or crack.
- Constant wetness encourages rot, fungal disease and a watery flavour.
The answer is soil that holds moisture well while still letting excess water drain away. If you garden in light sandy soil, work in plenty of compost. In heavy clay, loosen the ground with sand, fine gravel or well-rotted compost.
Radishes can also be grown successfully in deep pots, troughs or balcony planters, provided the container drains freely. That makes them a useful crop for small spaces, as long as the compost is kept evenly damp and the roots are not left sitting in water.
The best spot in the garden for radishes
For the moisture trick to work, the bed needs the right conditions. Radishes are fast growers, but they are fussier than many gardeners expect.
Radish site and soil: what matters most
Radishes like:
- Sun to light partial shade - full sun in midsummer encourages them to bolt and dry out too quickly.
- Loose, crumbly soil - this helps the roots form evenly and makes harvesting easier.
- Humus-rich ground - compost stores water and supplies nutrients in moderate amounts.
Heavily fertilised beds or freshly manured beds are a poor choice. Too much nitrogen pushes leaf growth, while the roots stay small or become distorted. A normally supplied vegetable plot is more than enough - radishes are best thought of as modest feeders.
Water by routine, not by guesswork
A fixed watering rhythm is especially worthwhile in cold frames or during dry spring spells:
- Water the soil thoroughly after sowing.
- Until germination, make sure the top layer never dries out.
- After that, water a little and often rather than flooding the bed in one go.
A simple test helps: push a finger into the soil. If the earth feels dry at one to two centimetres deep, it is time to water. If it still feels slightly moist, leave it for now.
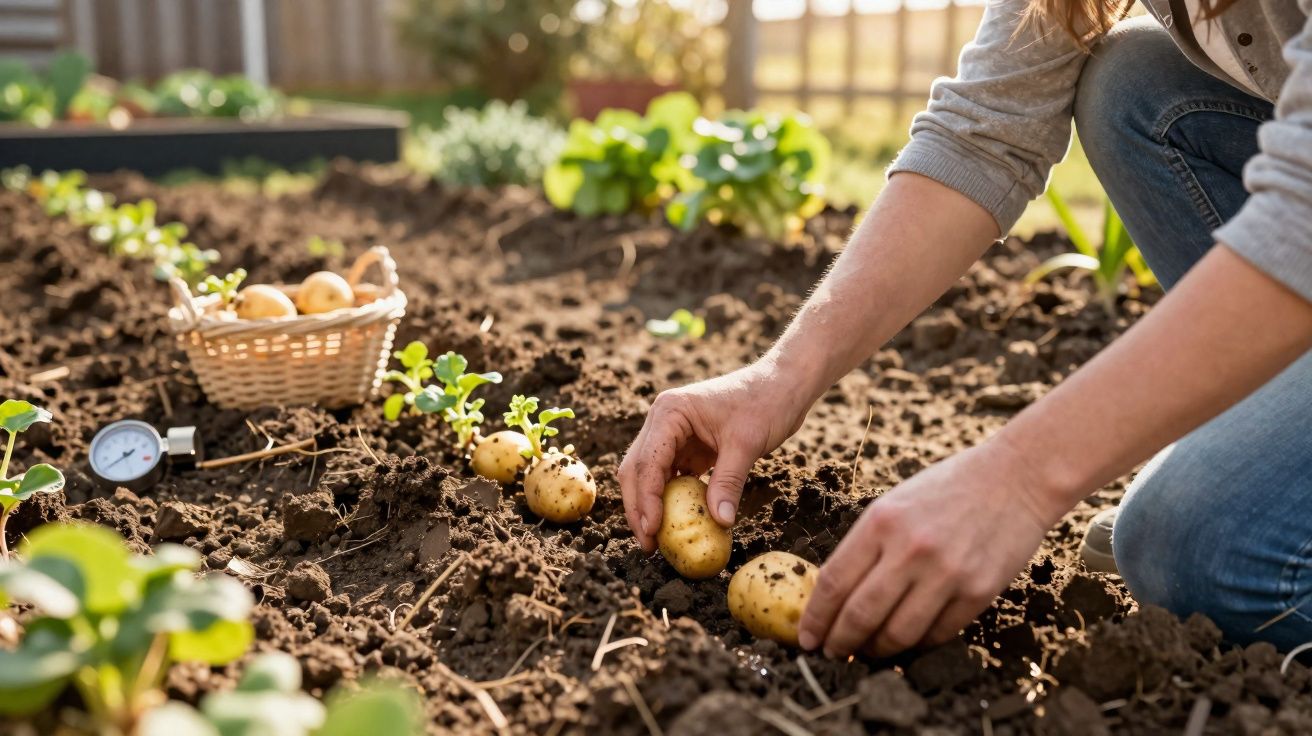
Sowing: spacing, depth and the right timing
Good roots also depend on sowing method and timing. If this step is handled badly, you end up with lots of leaves and hardly any radishes.
How to sow radishes properly
For an ordinary bed, a shallow drill is enough. It should not be too deep, or the seedlings will take longer to emerge and may struggle.
| Parameter | Recommendation |
|---|---|
| Sowing depth | approx. 1 cm |
| Spacing between seeds | 3–5 cm |
| Row spacing | approx. 15 cm |
If you sow too densely, thinning is unavoidable. Individual plants should then be spaced to around five to eight centimetres apart. That room is needed so the roots can develop round rather than misshapen or flat.
Early, late and heat-tolerant varieties
Radishes grow quickly, but not every variety suits every season. For cold frames and very early outdoor sowings, choose varieties that cope well with cool nights and short days. They are less likely to run straight to flower stalks in cold weather.
In midsummer, heat-tolerant varieties make more sense because they are less prone to bolting. Anyone who wants to sow regularly should check seed packets for labels such as “for early cultivation” or “for summer growing”.
Successional sowing: a steady supply of fresh radishes
A common mistake is to sow a huge amount all at once. The result is that the kitchen is overloaded with radishes for a few days, and then the bed sits empty.
Instead of one large sowing, put in small rows every two weeks - that keeps the bed productive and the harvest basket full.
Successional sowing works like this:
- Sow the first row in spring.
- About two weeks later, add the next small row beside it.
- Repeat this pattern over several weeks.
That way, fresh young roots keep coming. If you only sow as much as your household will eat in a few days, you cut food waste and use the growing space more efficiently.
The right time to harvest: better early than late
Radishes race through their growth cycle. Depending on the weather, they can be ready after just four to six weeks. Many amateur gardeners leave them too long because they hope for larger roots. That is exactly when problems begin.
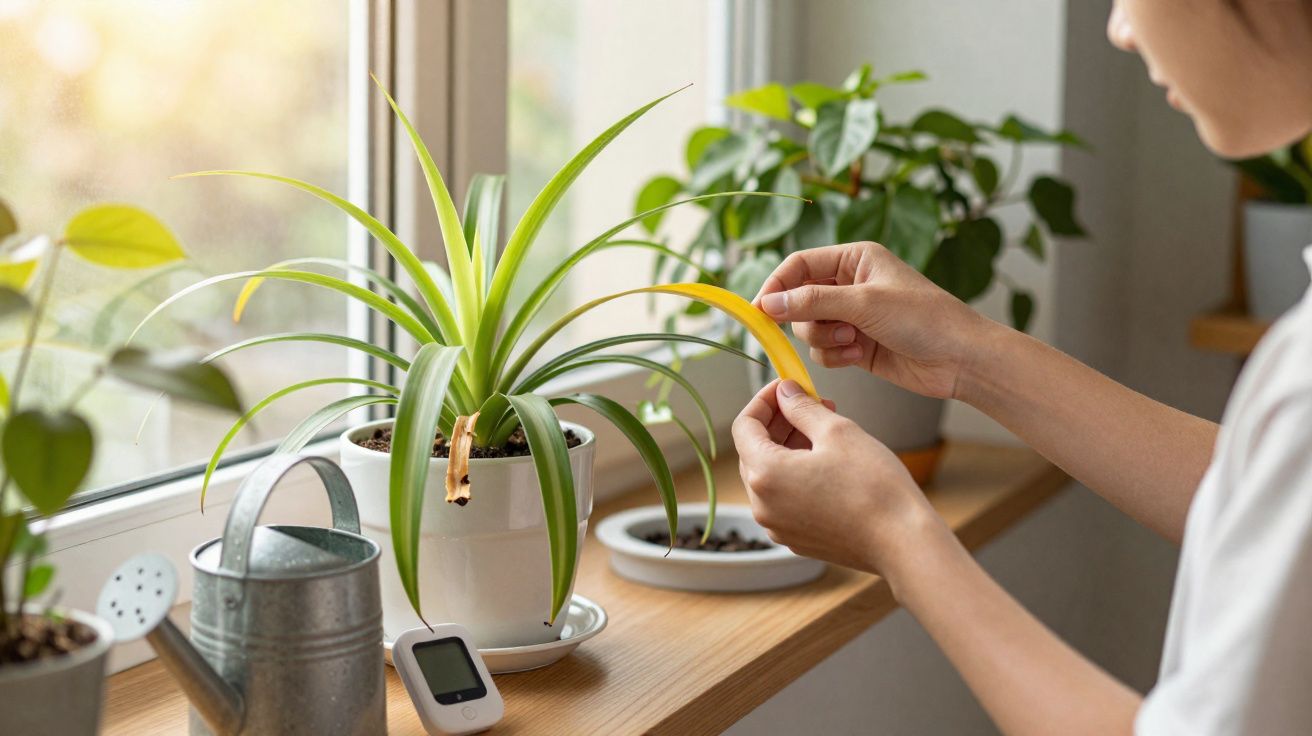
Typical results of harvesting too late:
- The flesh turns fuzzy and loses its crisp texture.
- The flavour shifts from mildly peppery to unpleasantly hot.
- The roots become partly woody and harder to chew.
A useful rule of thumb: once the root is clearly showing above the soil line and measures about two to three centimetres across, it is ready to lift. A few larger specimens are fine, but as a target size, “small to medium” works best.
Combining radishes intelligently in the bed
Radishes are ideal as a quick filler crop. They make use of periods when other vegetables are still small or have not yet been planted.
Practical examples:
- Sow them between rows of slower crops such as cabbage or leeks - the radishes are harvested before the main crop needs the space.
- Fill gaps left after lamb’s lettuce or spinach has been picked by sowing a few new rows.
- Use them in a raised bed as a temporary gap-filler when you are not yet sure what will go in later.
Because radishes stay in the soil for only a few weeks, they place little strain on the crop rotation and fit neatly into almost any planting plan.
Typical problems and how to solve them quickly
Even with good care, questions still crop up. Here is a quick look at the classic stumbling blocks:
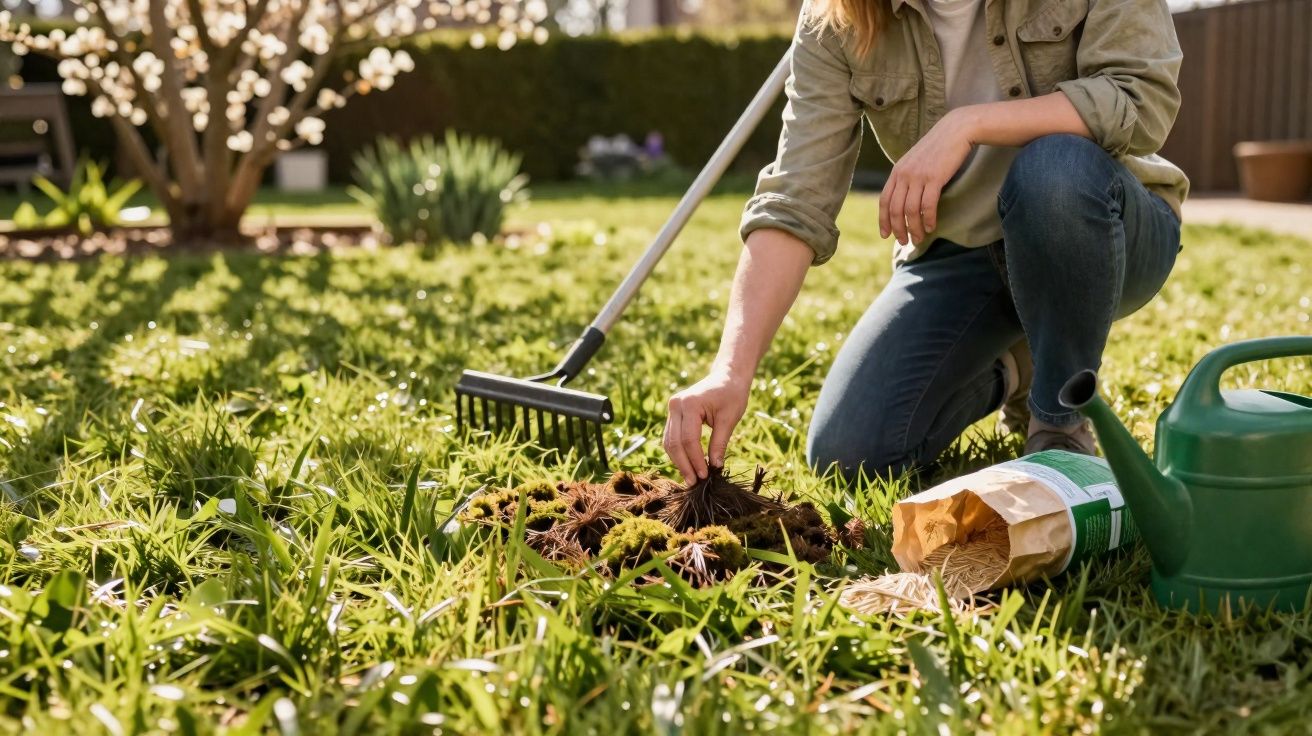
- Lots of leaves, no roots: usually a sign of too much nitrogen or sowing too tightly. Cut back on feeding and increase the spacing.
- Radishes split: most often caused by sudden watering after a dry spell. Adjust the watering rhythm and mulch more generously.
- Holes in the leaves: flea beetles or slugs are the usual culprits. For flea beetles, loose hoeing and mulching help; for slugs, barriers and hand-picking are effective.
If you stick to the principle of steady moisture, enough space and timely harvesting, you will solve most of these problems before they really begin.
Why the moisture trick also helps the whole bed’s climate
A bed that does not dry out all the time has a positive effect on the garden’s microclimate. Mulch made from grass clippings or shredded leaves reduces evaporation, protects soil life and stops the surface from capping over. Rainwater then soaks in more easily and remains available to the plants for longer.
If you also collect rainwater and use it for watering, you save tap water and usually provide a softer water quality. Radishes, which respond quickly to changes, reward that steadier supply with more even growth and a milder bite.
That turns a supposedly beginner-friendly vegetable into a dependable test of your gardening routine: if the radishes are round, juicy and crisp, the rest of the bed is usually in good shape too.
In that sense, radishes are also one of the best crops for learning. Their short growing period gives fast feedback, so you can see immediately whether your soil, spacing and watering routine are working. Few vegetables show so clearly, so quickly, whether the basics are right.
Comments
No comments yet. Be the first to comment!
Leave a Comment