Anyone who buys a moth orchid is often amazed by weeks of flowers. Once the blooms fade, though, disappointment sets in: the flower spikes dry up, the leaves stay green, but new buds seem slow to appear. Rather than giving up on the plant too quickly, it is worth looking in the cupboard - more specifically, at a sweet kitchen staple usually reserved for baking.
When your moth orchid simply refuses to bloom
Orchids are among the most popular houseplants in the United Kingdom and beyond. At the same time, they have a reputation as “divas on the windowsill”. In reality, they are fairly undemanding; they only react sharply when something is missing, especially nutrients.
In shops, many plants are sold in a very open bark-based growing medium. This gives the roots plenty of air, but it contains almost no nutrients. During the first year, the orchid often still lives on reserves from the nursery. After that, growth can slow, the leaves remain small and new flowering shoots form only sparingly.
At that point, many home gardeners turn to a simple remedy: a very weak liquid made from a baking ingredient that acts like a gentle boost in the potting mix.
Why a kitchen syrup can strengthen orchids
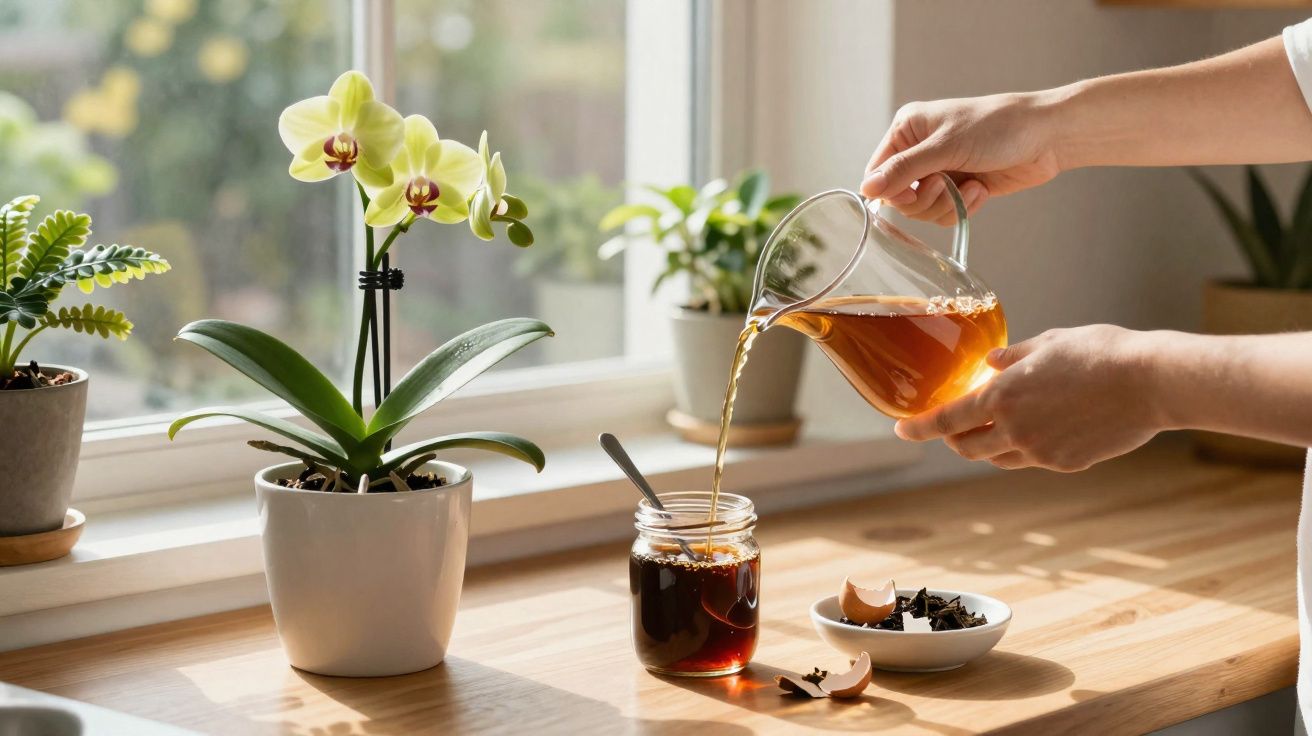
The ingredient in question is molasses, the dark syrup produced during sugar refining and used in the kitchen for things like gingerbread and rich sauces. It contains much more than just sugar.
Molasses provides potassium, magnesium and trace elements that strengthen the root system and encourage the formation of new flowering shoots.
Potassium supports cell strength and plays a central role in the development of flower stems. Magnesium is a building block of chlorophyll - the green pigment in leaves - and helps the plant convert light into energy. Without that energy, the orchid’s growth stalls.
The effect on the potting medium is interesting too: the sugars feed microorganisms in the substrate. These microbes break down organic matter more quickly and make nutrients more available to the roots. As a result, the plant absorbs water and minerals more efficiently, creating the basis for strong leaves and new flower spikes.
How to mix the gentle molasses feed correctly
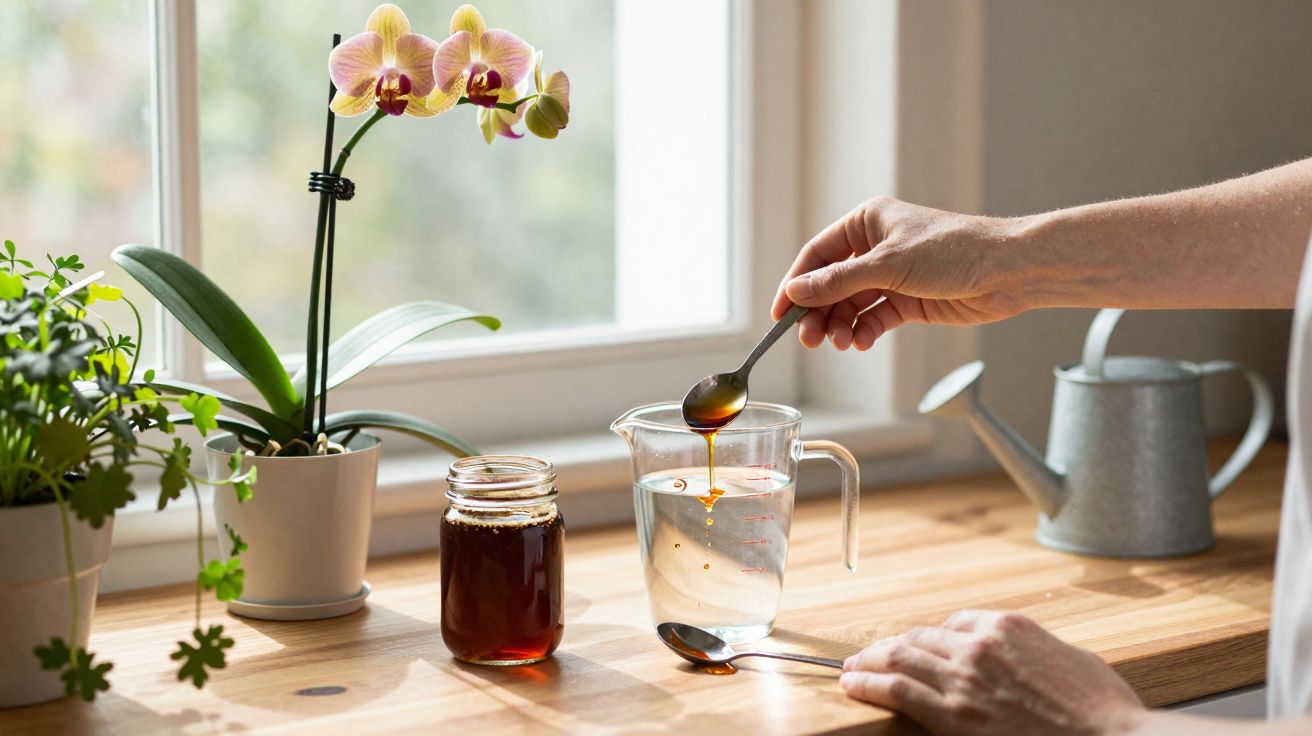
When using syrup for an orchid, one thing matters above all: very heavy dilution. A few drops are enough; concentrated amounts would be harmful to the delicate roots.
Step-by-step guide
- Prepare a clean spray or watering container with a capacity of about 250 ml.
- Fill it with tap water or water that has stood for a while.
- Add half a teaspoon of molasses, or up to 1 teaspoon per 1 litre of water.
- Shake the container well until the syrup is fully dispersed.
- Pour the solution directly onto the potting medium around the roots, not into the leaf joints.
Important: this mixture does not replace normal watering. The plant still needs its usual water, roughly once a week depending on the location, ideally by soaking the pot or by slowly flushing it through.
A useful extra tip is to keep a simple feeding log. Note the date, the amount used and how the plant responds over the following weeks. That makes it much easier to spot whether the orchid is improving or whether the mix needs to be made even weaker.
How often should orchids be watered with molasses?
When it comes to nutrients, less is usually more. For Phalaenopsis and similar house orchids, one application per month is enough.
A weak molasses feed once a month is sufficient to encourage growth and flower formation.
If you reach for sweet water more often, you risk several problems:
- over-fertilising the fine roots
- salt deposits building up in the potting medium
- increased growth of algae and fungi
Ideally, the syrup should be combined with a specialist orchid fertiliser that is also heavily diluted. For example: water normally for three weeks, use the highly diluted molasses solution in one week, and then in the next month give a light orchid fertiliser. That way, the plant receives a broader range of nutrients without being overloaded.
Warning signs: when the sweet treatment is too much
Molasses is still a product with a high sugar content. If too much is used, it can attract unwanted visitors or upset the microflora in the pot.
Typical signs of overdoing it
- Tiny flies or gnats hovering above the pot
- Ants on the windowsill
- A white, fluffy film on the surface of the potting medium
- Sticky patches on the pot or outer cover pot
- A slightly sour or fermented smell
If these signs appear, the plant needs something like a reset: flush the pot thoroughly with lukewarm water, let it drain, and water only with clean water for a few weeks. In some cases, it is even worth repotting the orchid completely into fresh orchid compost.
Other kitchen leftovers orchids may appreciate - and where the limits are
Molasses is not the only kitchen remedy that can support orchids. Gardening creators and hobby botanists often experiment with other leftovers, though always very diluted and only occasionally.
| Home remedy | Effect | Application note |
|---|---|---|
| Banana peel water | Provides mainly potassium for flower formation | Leave to infuse only briefly, dilute heavily, and use sparingly because it can rot |
| Eggshells | Source of calcium, strengthens tissue | Grind very finely and use only in small amounts, as breakdown is slow |
| Rice water | Contains a little starch and minerals | Use fresh only; do not leave standing, as it turns quickly |
| Tea bags | Adds trace nutrients | Use only occasionally and do not allow to rot directly in the pot |
Compared with these, molasses has the advantage of being long-lasting, easy to dose accurately and relatively hygienic. An opened bottle can sit in the cupboard with no problem and provide tiny portions for several plants over many months.
When the molasses trick is especially useful for a moth orchid
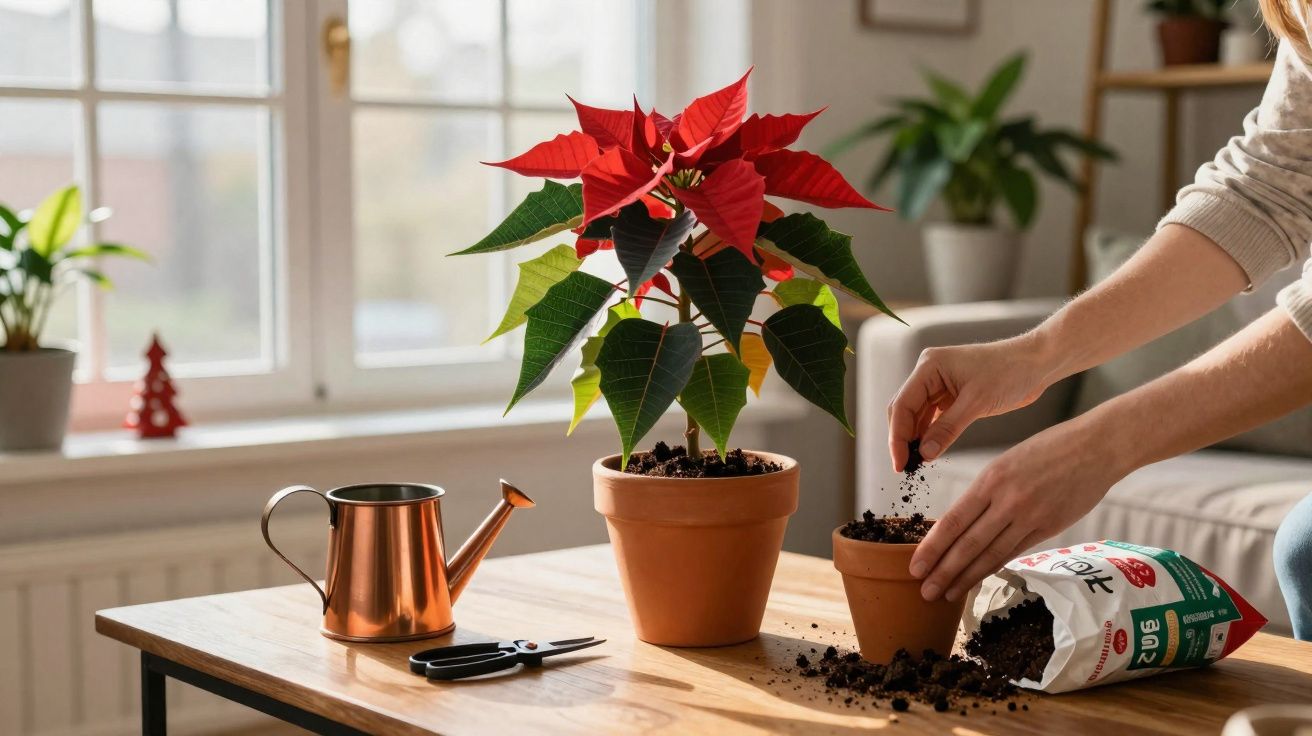
The method is particularly helpful at times when the orchid needs energy to build new structures. Typical moments include:
- after cutting back old flower spikes hard
- in spring, when the days start getting longer
- after repotting into fresh growing medium
- when new leaves appear but no flower spikes follow
If you own several orchids, comparison can be very revealing: one plant receives the sweet supplement regularly, while another does not. Differences in leaf colour, root strength and flowering enthusiasm usually become clear after a few months.
What still matters just as much
Even the best syrup will not rescue a plant that is in the wrong place. Orchids need bright but not harsh sunlight, steady temperatures and humidity. If they stand directly above a radiator, roots and buds dry out quickly. In pots that stay permanently wet, roots rot regardless of how good the nutrient supply is.
So it is worth looking at the full picture:
- choose a bright position without intense midday sun
- use a transparent inner pot so you can keep an eye on the roots
- soak weekly with lukewarm water, then allow it to drain thoroughly
- avoid pouring water into the crown leaves to prevent rot
It also helps to check the roots regularly. Healthy roots are usually firm and green or silvery, while brown, mushy roots signal trouble. If the potting medium has collapsed into fine, compact material, repotting may help even more than any feed.
If you follow these basics and use the molasses trick selectively, you greatly improve the chances that a “difficult” orchid will feel like producing a second or even third round of flowers. Many home gardeners report stronger roots, richer green leaves and noticeably more blooms - all thanks to a product that used to be kept in the cupboard for cakes and biscuits.

Comments
No comments yet. Be the first to comment!
Leave a Comment